
DIY Linear Rail measurement jig to make it parallel.
At the moment im not able to progress in my CNC building project since i’m waiting for M5 T-Nuts for my 40160 RatRig profiles in order to be able to tighten the HGR20 rails to to the profiles. I ordered them from AliExpress so they will arrive whenever they will arrive 😁
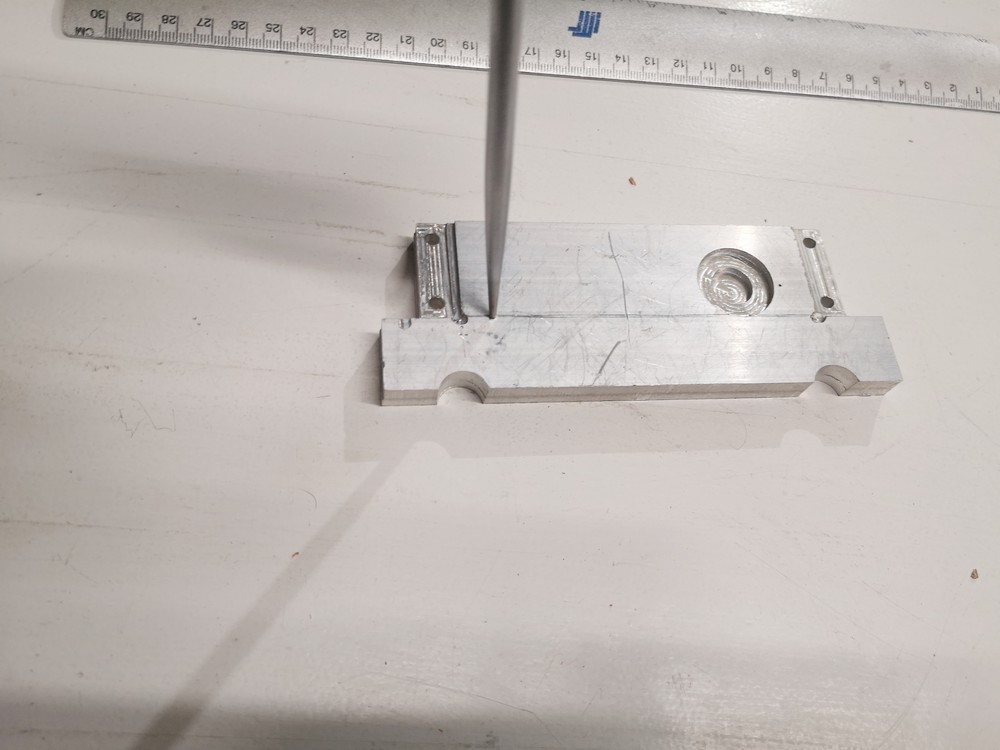
Mean while I decided to make a Measurement Jig from a left over 10mm aluminum piece and a 20mm long M5 bolt and a nut to get the rail aligned 10mm from the edge.
First i draw a line to which i plan to drill holes for the M8 bolts.

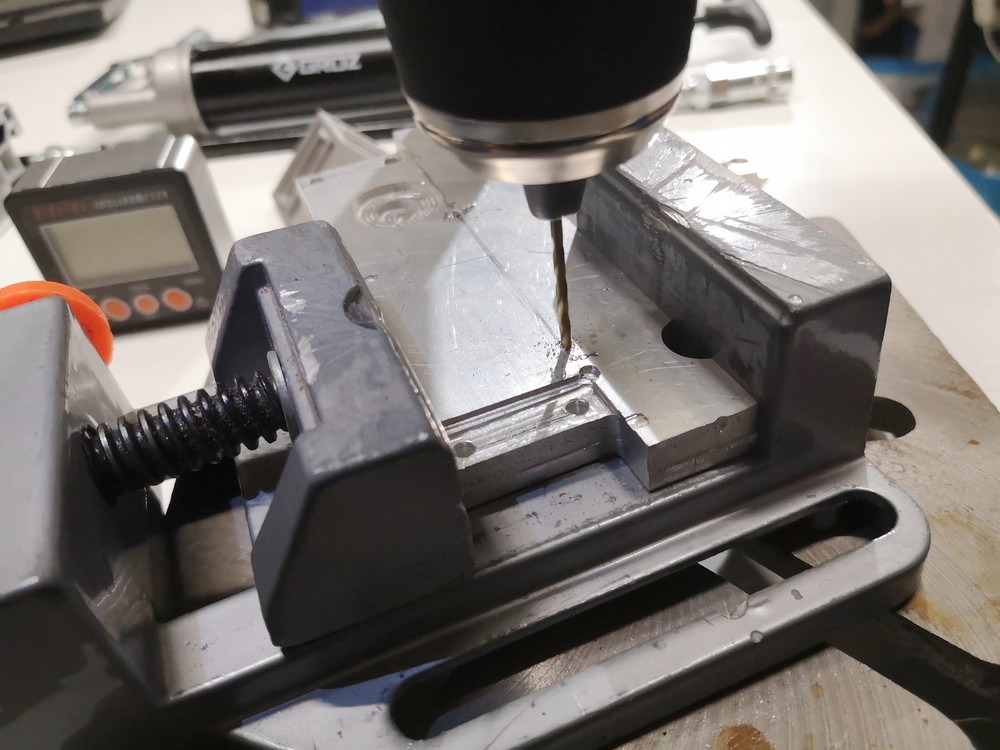
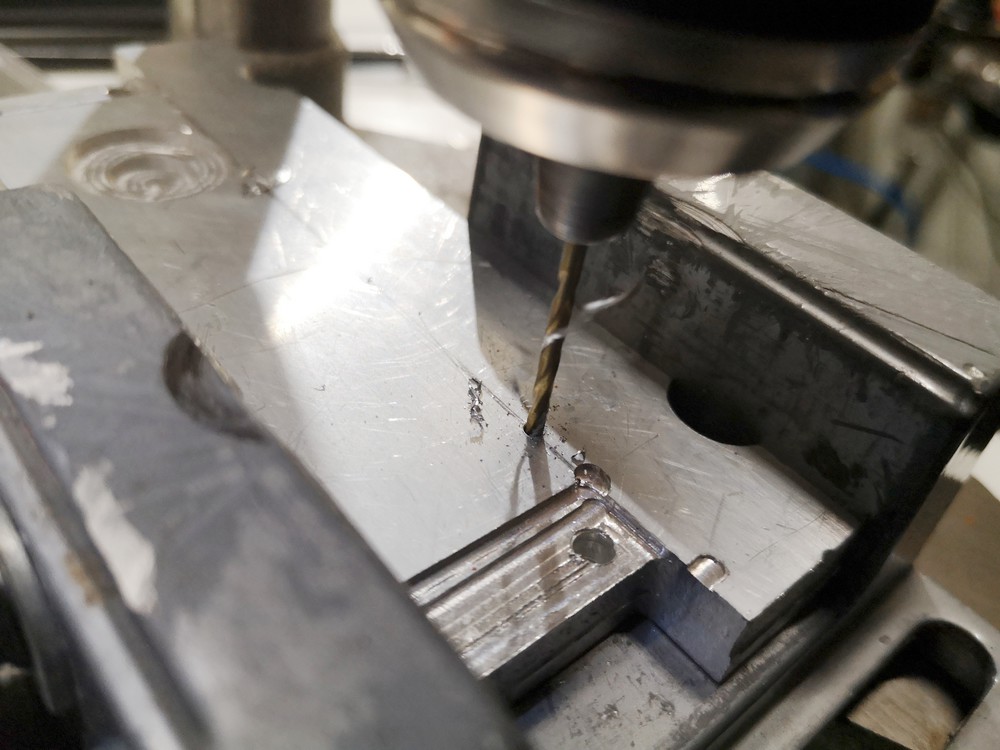
Next i marked small holes using a hammer and a sharp ended tool.
Then i used a inclinometer to check the angle between my poor hand drill stand.


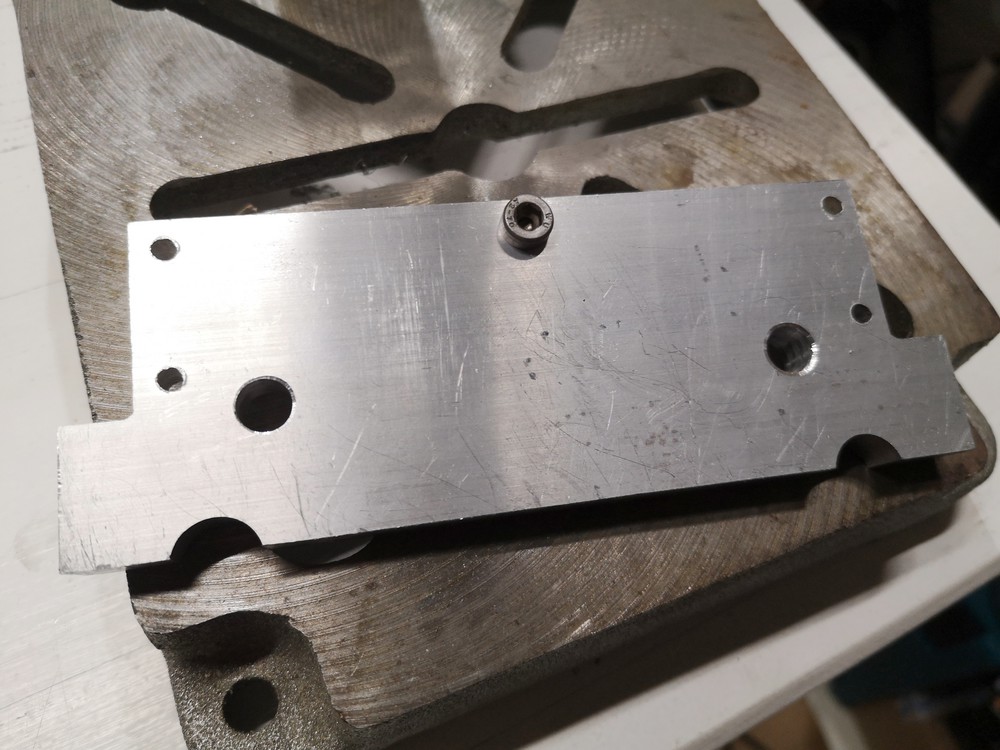
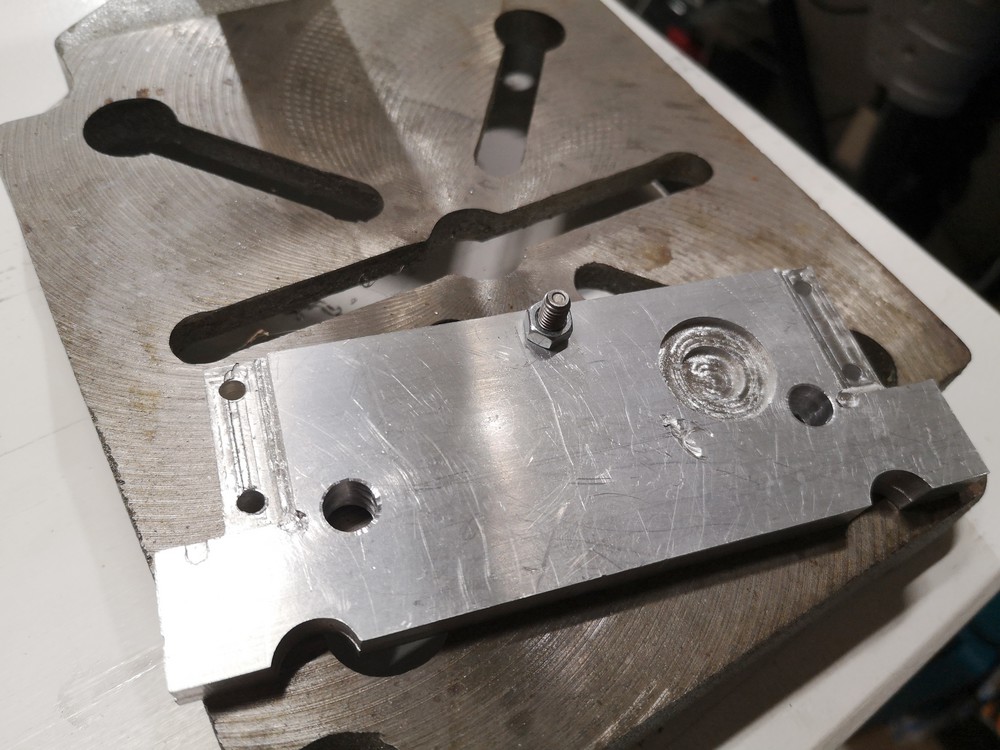
When finished, i used a 10mm drill to make the edges beveled and inserted the M5 bolt and fixed it with a M5 nut. Then inserted M8 bolts + T-Nuts and its done.
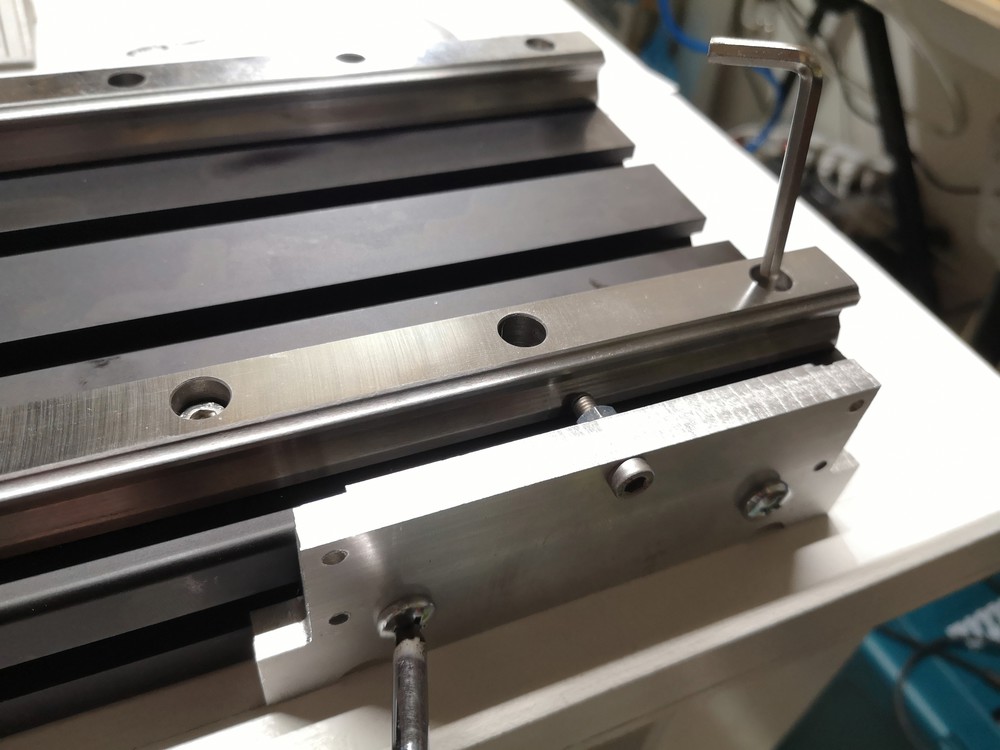


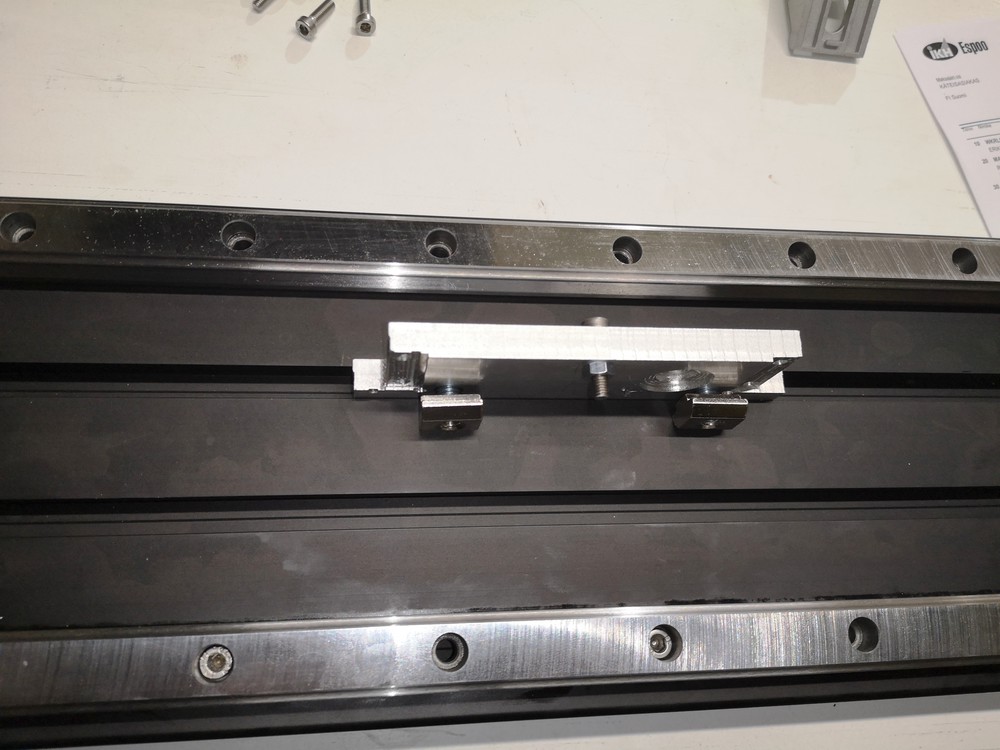
The idea is to slide the jig from one end to the other and tighten the jig each time the rail is adjusted and also tightened. Then move to next screw and like this we get the reference rail “calibrated”. After this a HGH block can be inserted on the finished rail, put a magnetic dial indicator mount on it and measure the opposite rail and adjust it apropriately.
This is not shown yet since I don’t have the proper T-nuts yet. I used 2020 profile plate nuts which are not good for the bigger 40160 type of profile.
I’ll be posting a new blog post when i get the T-nuts.
