
Vacuum Clamping to the help
So i got an idea of making my sheets of plywood or poly carbonate / Acrylics flat against my working table First i was thinking to invest in a 3D probe but after mind storming and thinking through the process i decided to try to make Vacuum Clamps Since it takes way less time to get the sheets flat like that compared to warping gcode programs using a 3d probe.
So i started by talking with one of my CNC geek friends who introduced me to vacuum clamping systems. At first i started checking prices for complete systems and of course the prices was quite crispy. Vacuum pumps starting from 150€ up to 800€ or even above and aluminum vacuum clamp from 200€ -> up. Then i saw some plywood MDF clamps made by using CNC and first of all it looked very nice and second of all fairly simple to make.
So i found some 3D printable clamps that i decided to take into my project and then i found out that i can use my Black+Decker 106L/min compressor to produce vacuum from its intake to make the project price fairly cheep. Only the pneumatic quick connectors,pressurized air connectors and the EPDM O-ring gasket band which costs something between 100-200€ for the whole package.
The list of things for my starting project is below:
- 6mm dia. EPDM O-Ring band gasket (Etra)
- 8mm Pneumatic hose and connector and a Vacuum gauge meter (IKH.fi)
- 1/4 thread size Pressurized air connectors (biltema.fi)
- 3D printable vacuum clamp (description of the video contains 3D models) (youtube.com)
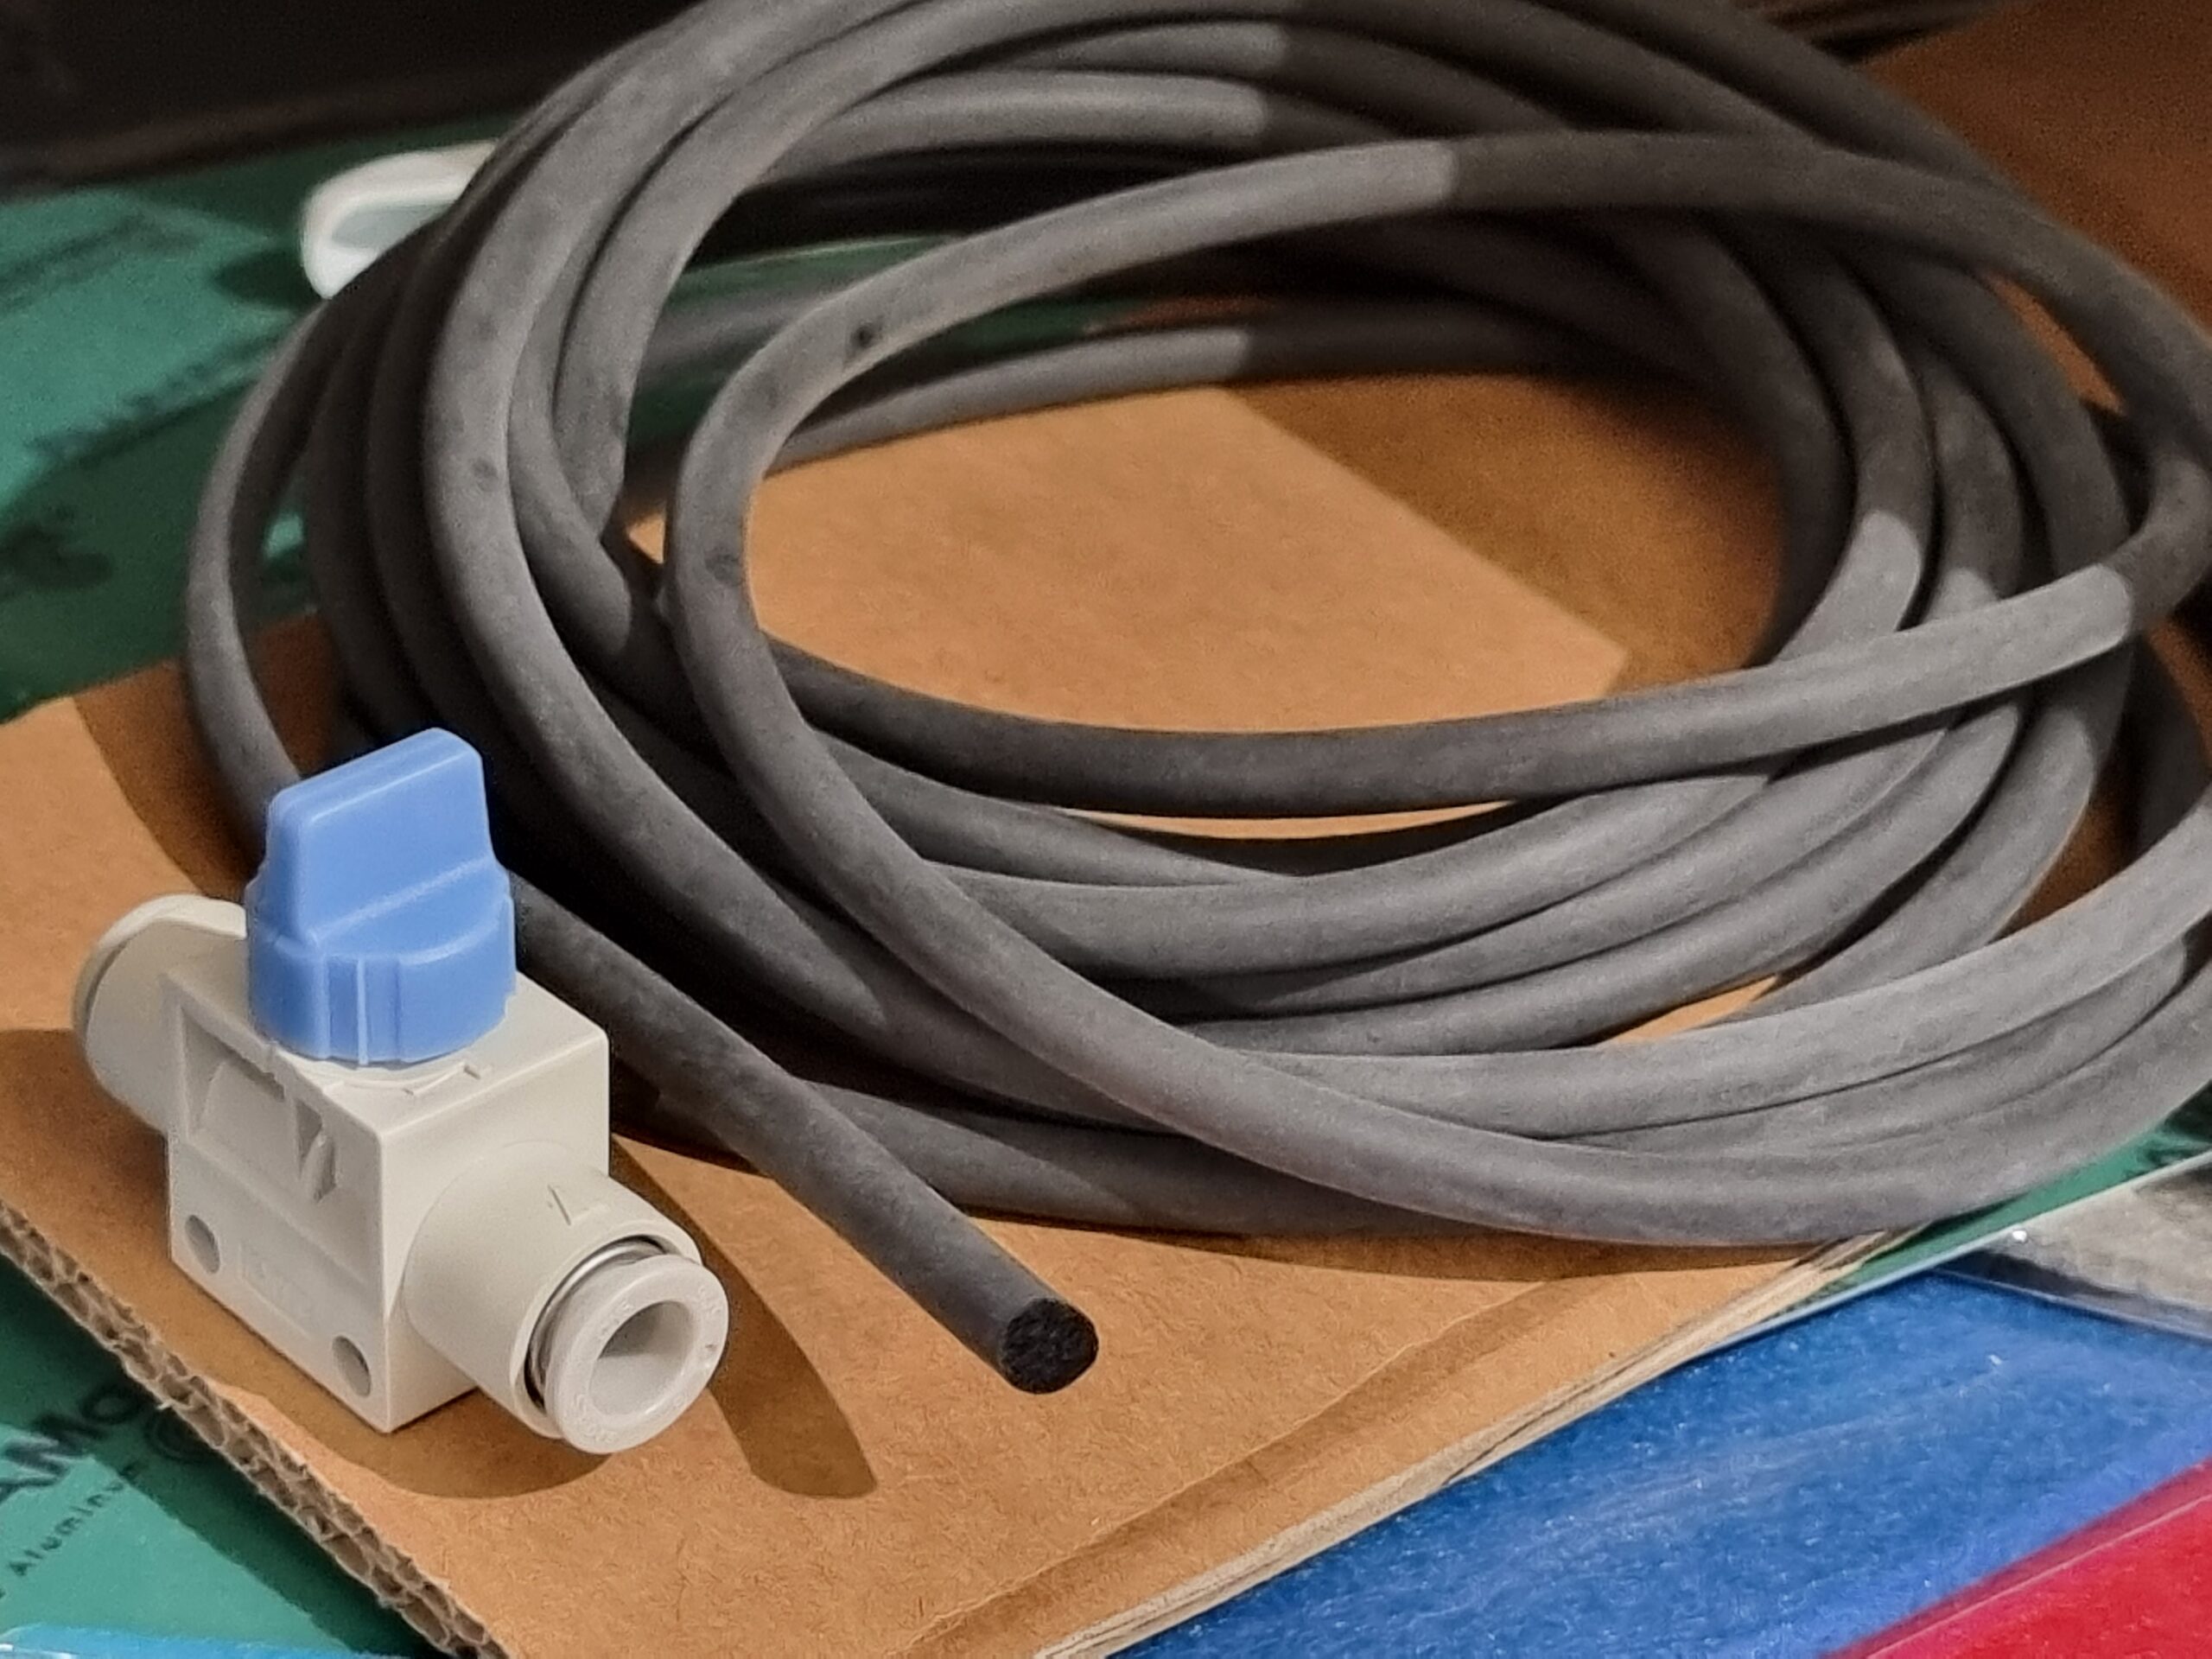
- Pneumatic 8mm in-line shut off valves (HPcontrol) or (Etra)
- Alternative compressor-vacuum pump (Mini compressor-pump)
- Alternative Ejector (dktech)
- Alternative Venturi valve (Nettiverstas)
…
DAY 1
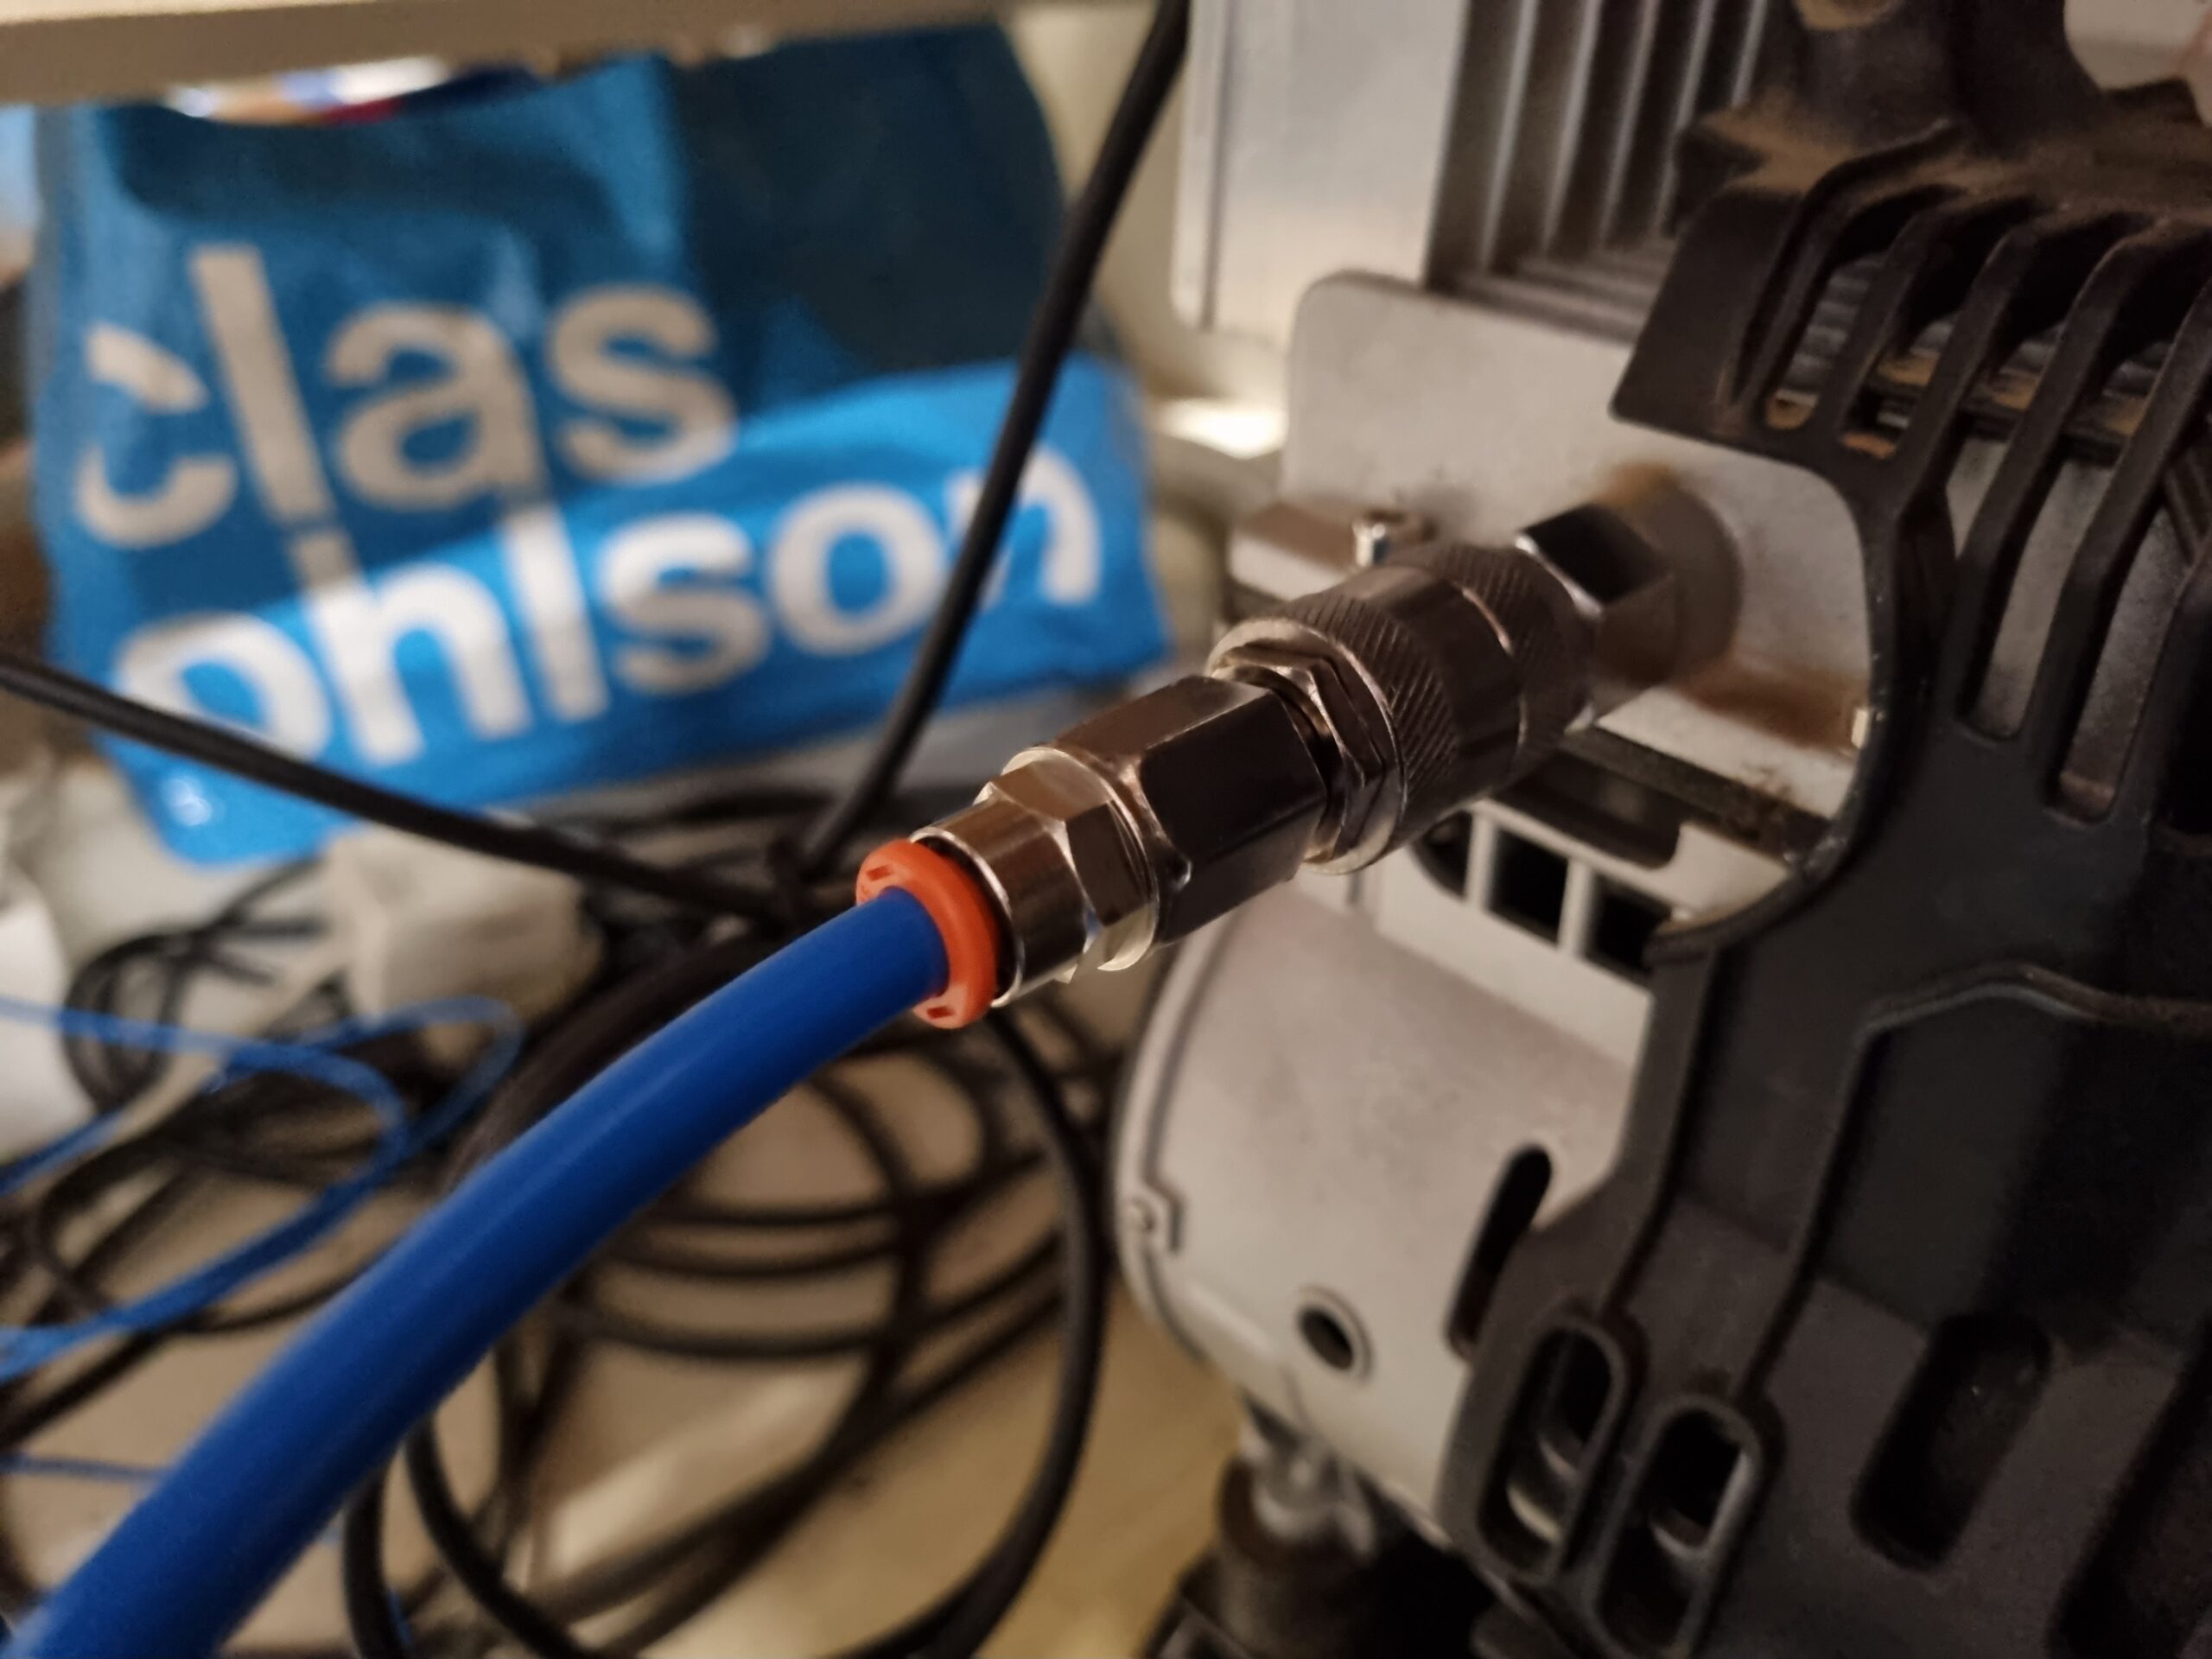
So i removed the air-filter from the suction line which is located at the heat sink of the compressor. I replaced it with a 1/4 Male thread quick connector coupling and attached a counter part for that to the air-filter so that i can connect it when using high pressure air in other projects.
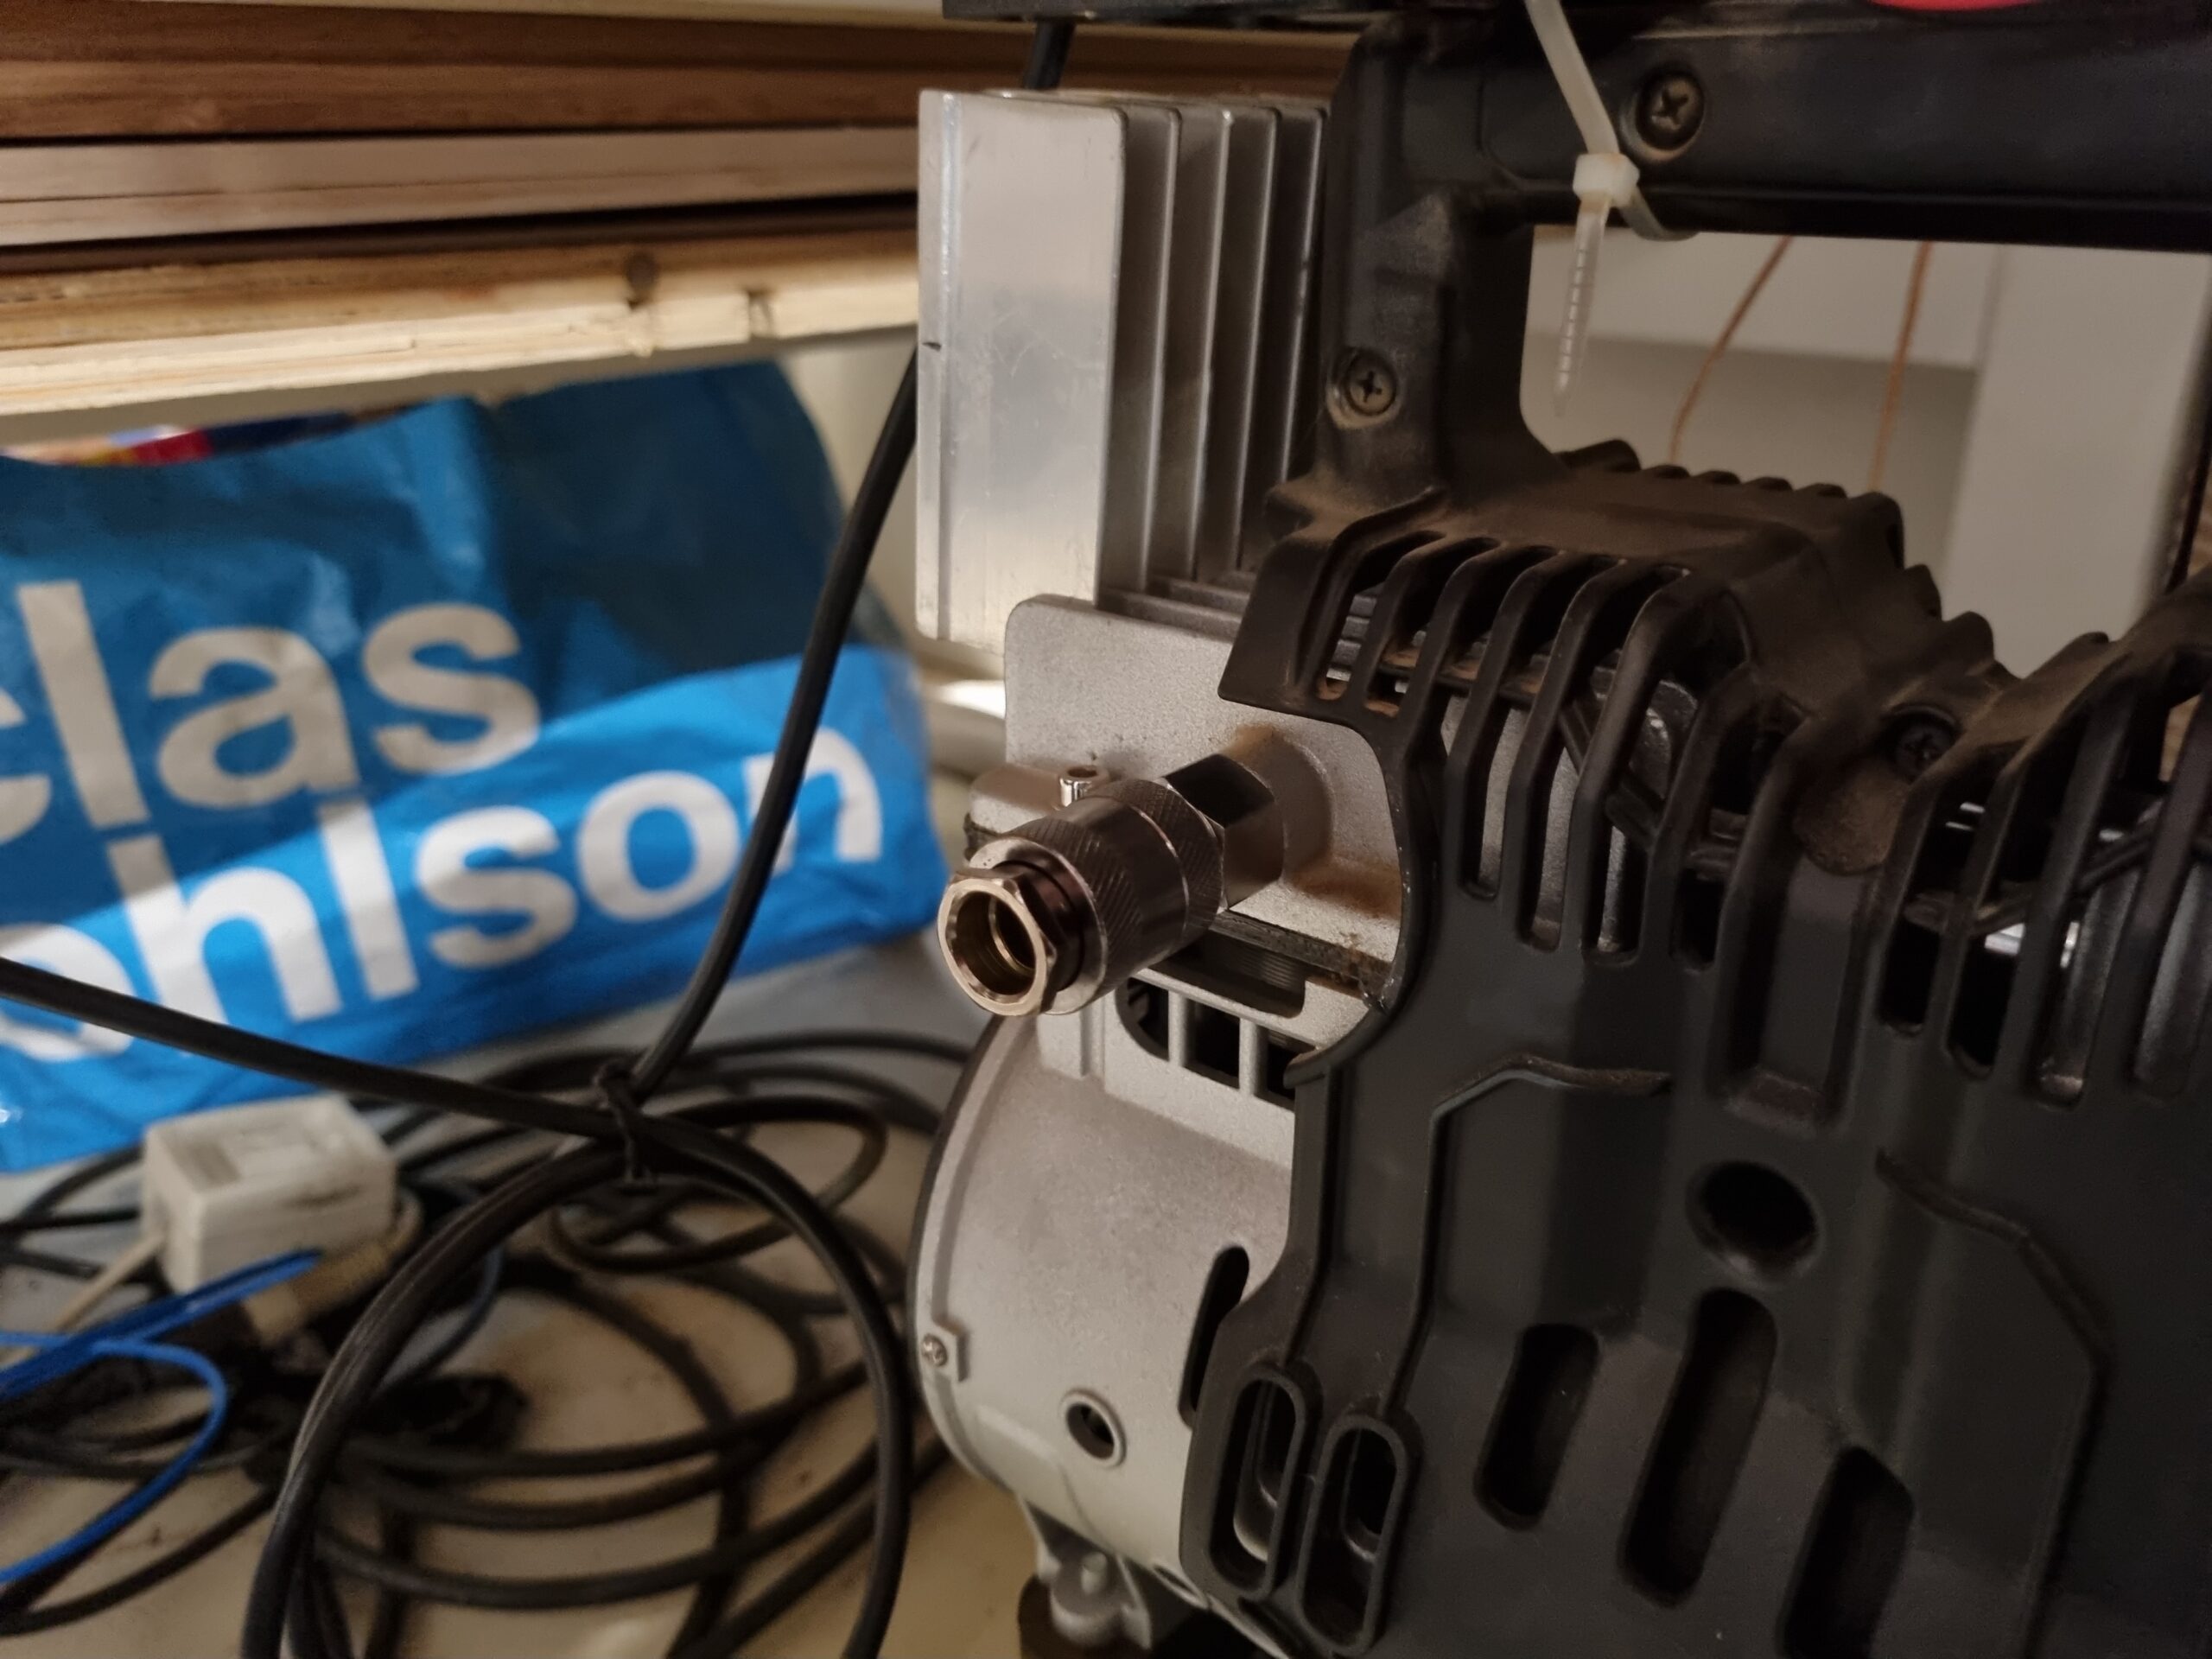
Ideally i would be able to use both vacuum and high pressure air at same time but unfortunately i think i can only use them separately if its not possible to have a shut off valve on the vacuum line which eventually will hold down some plastics but not maybe plywood or woods in overall. So maybe i need to either buy an ejector or venturi valve to produce the vacuum from the high pressure line. Ejectors can be bought with around 50€ while venturi valves may cost 100-150€. Those would allow me to branch the high pressure to 2 applications (blowing and suction). Or one additional alternative is to buy a cheaper 150€ mini-compressor-vacuum pump.
The 8mm pneumatic hose was connected to compressor vacuum input using pneumatic 8mm quick connector that was hooked up with a high pressure quick connector (The threads fitted perfectly).
The next phase in my project is to print the Vacuum clamp pad which i will do next…
DAY 2
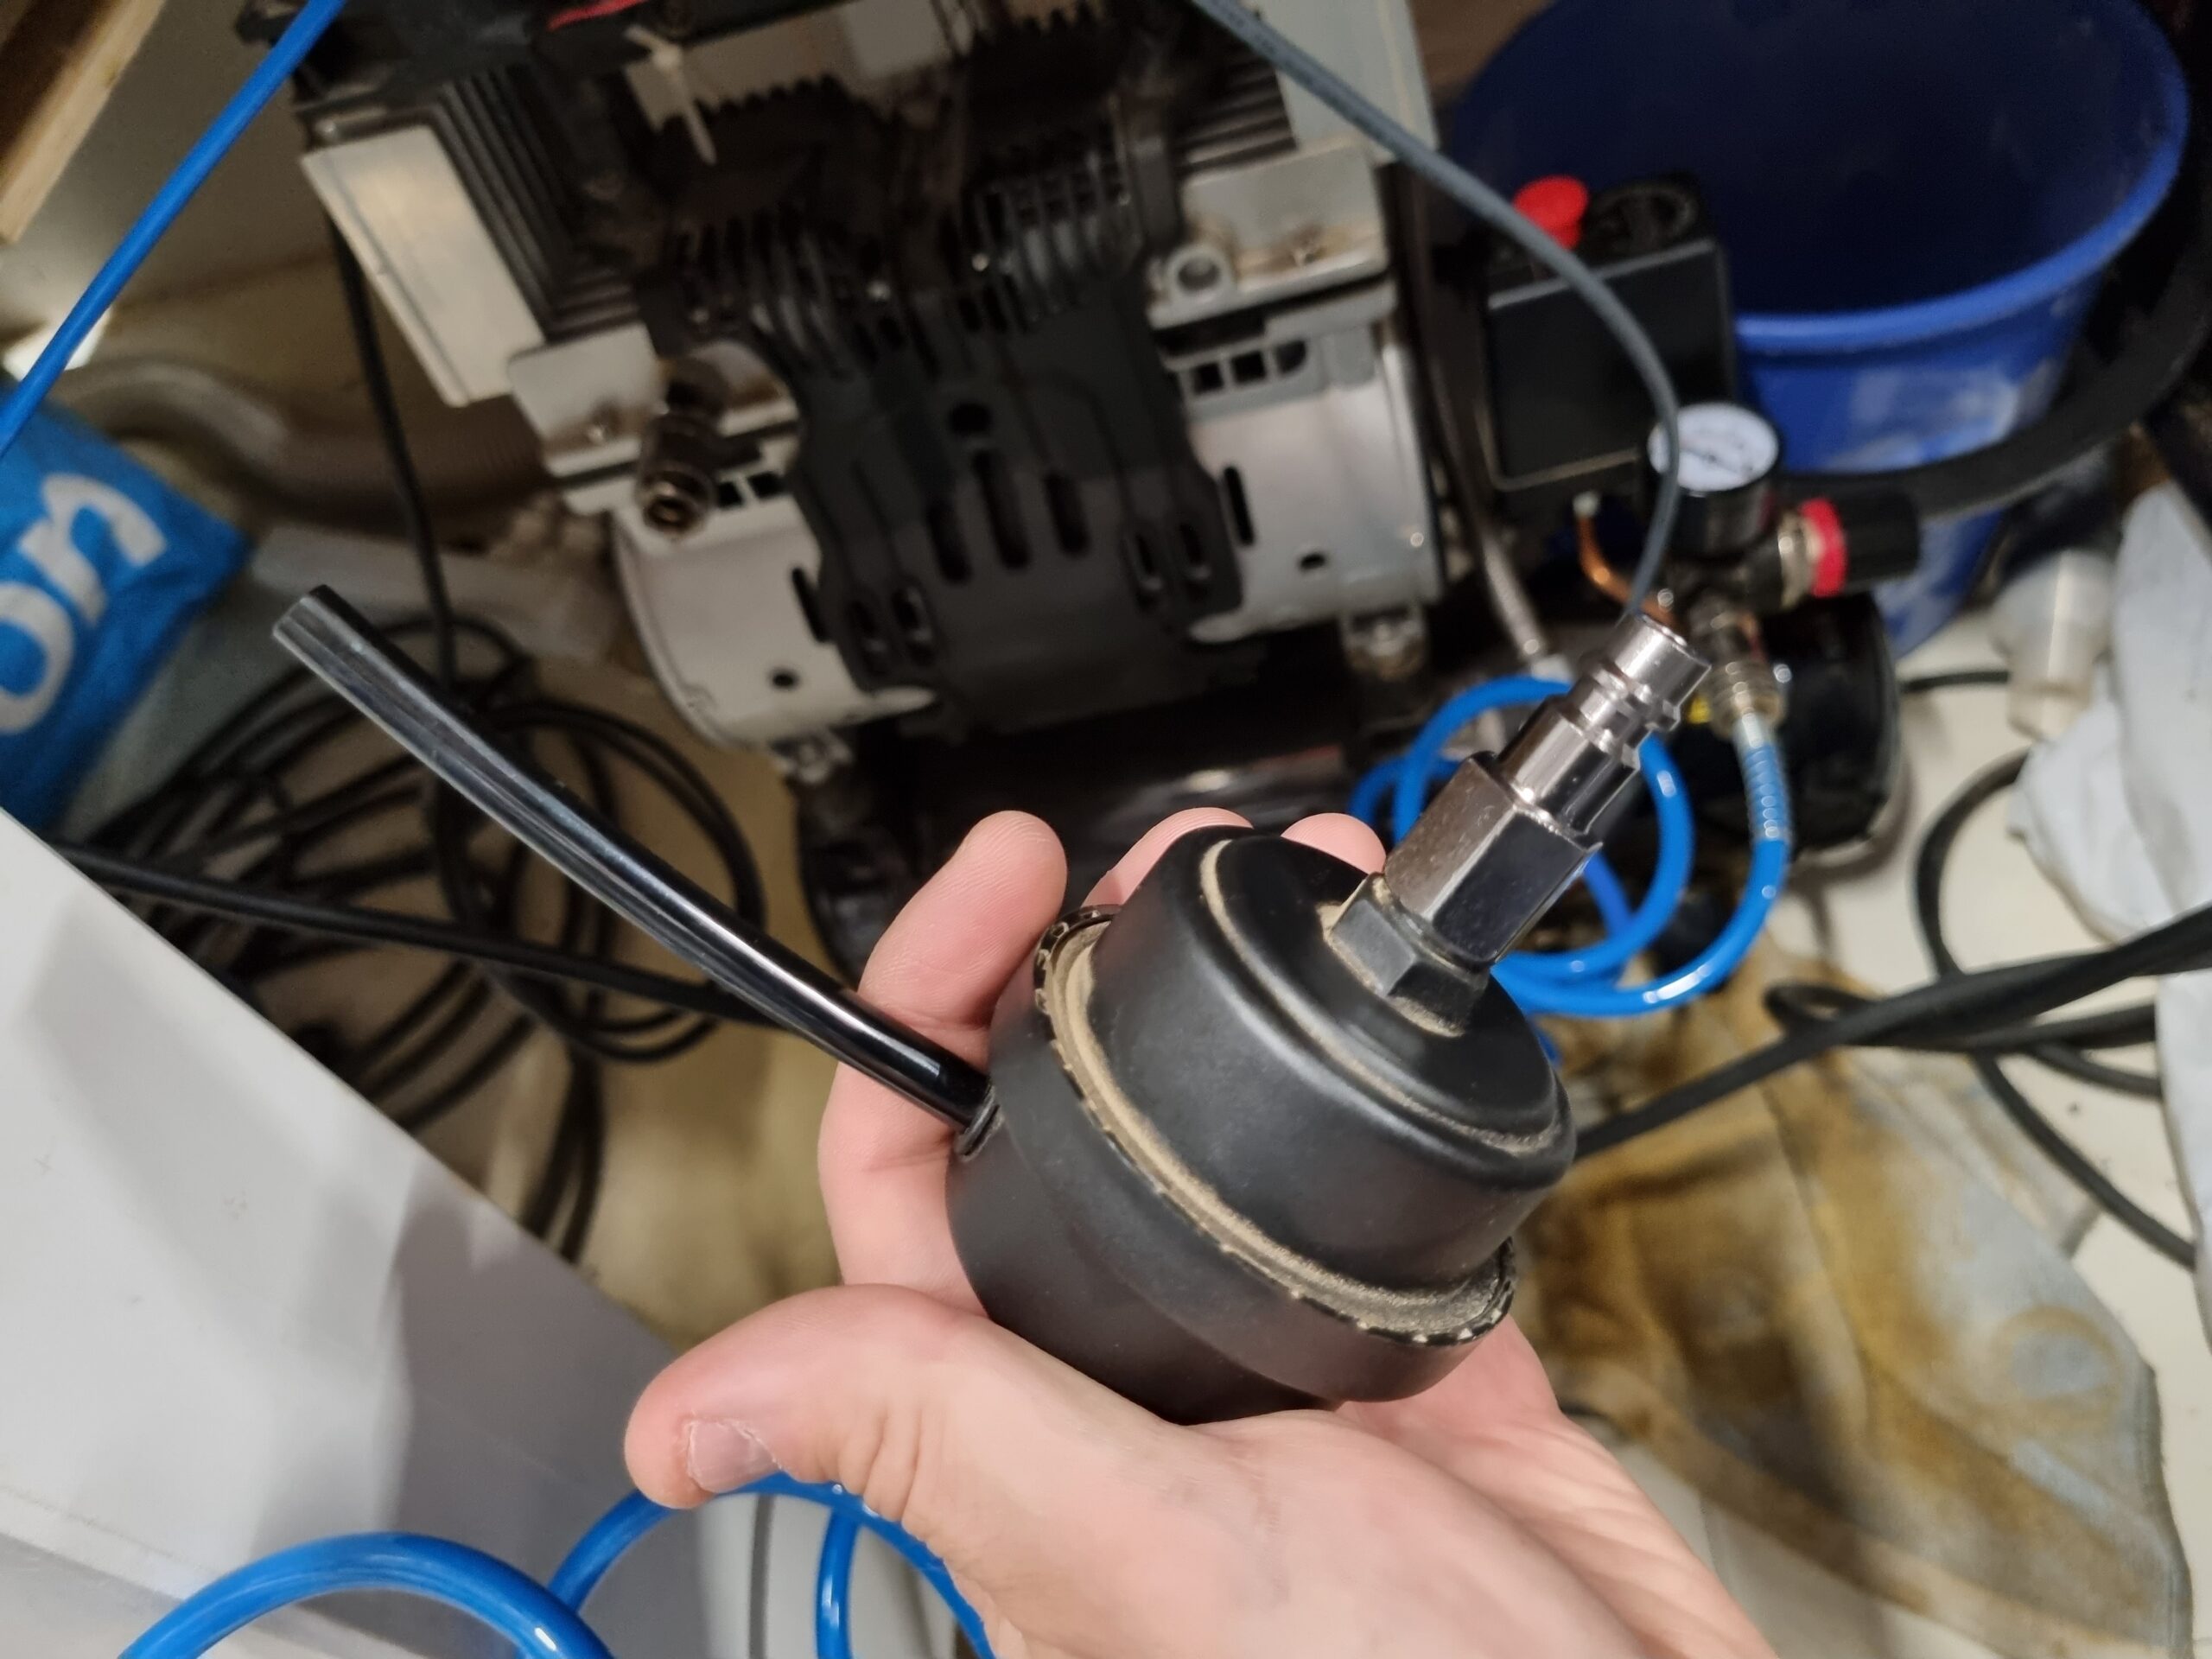
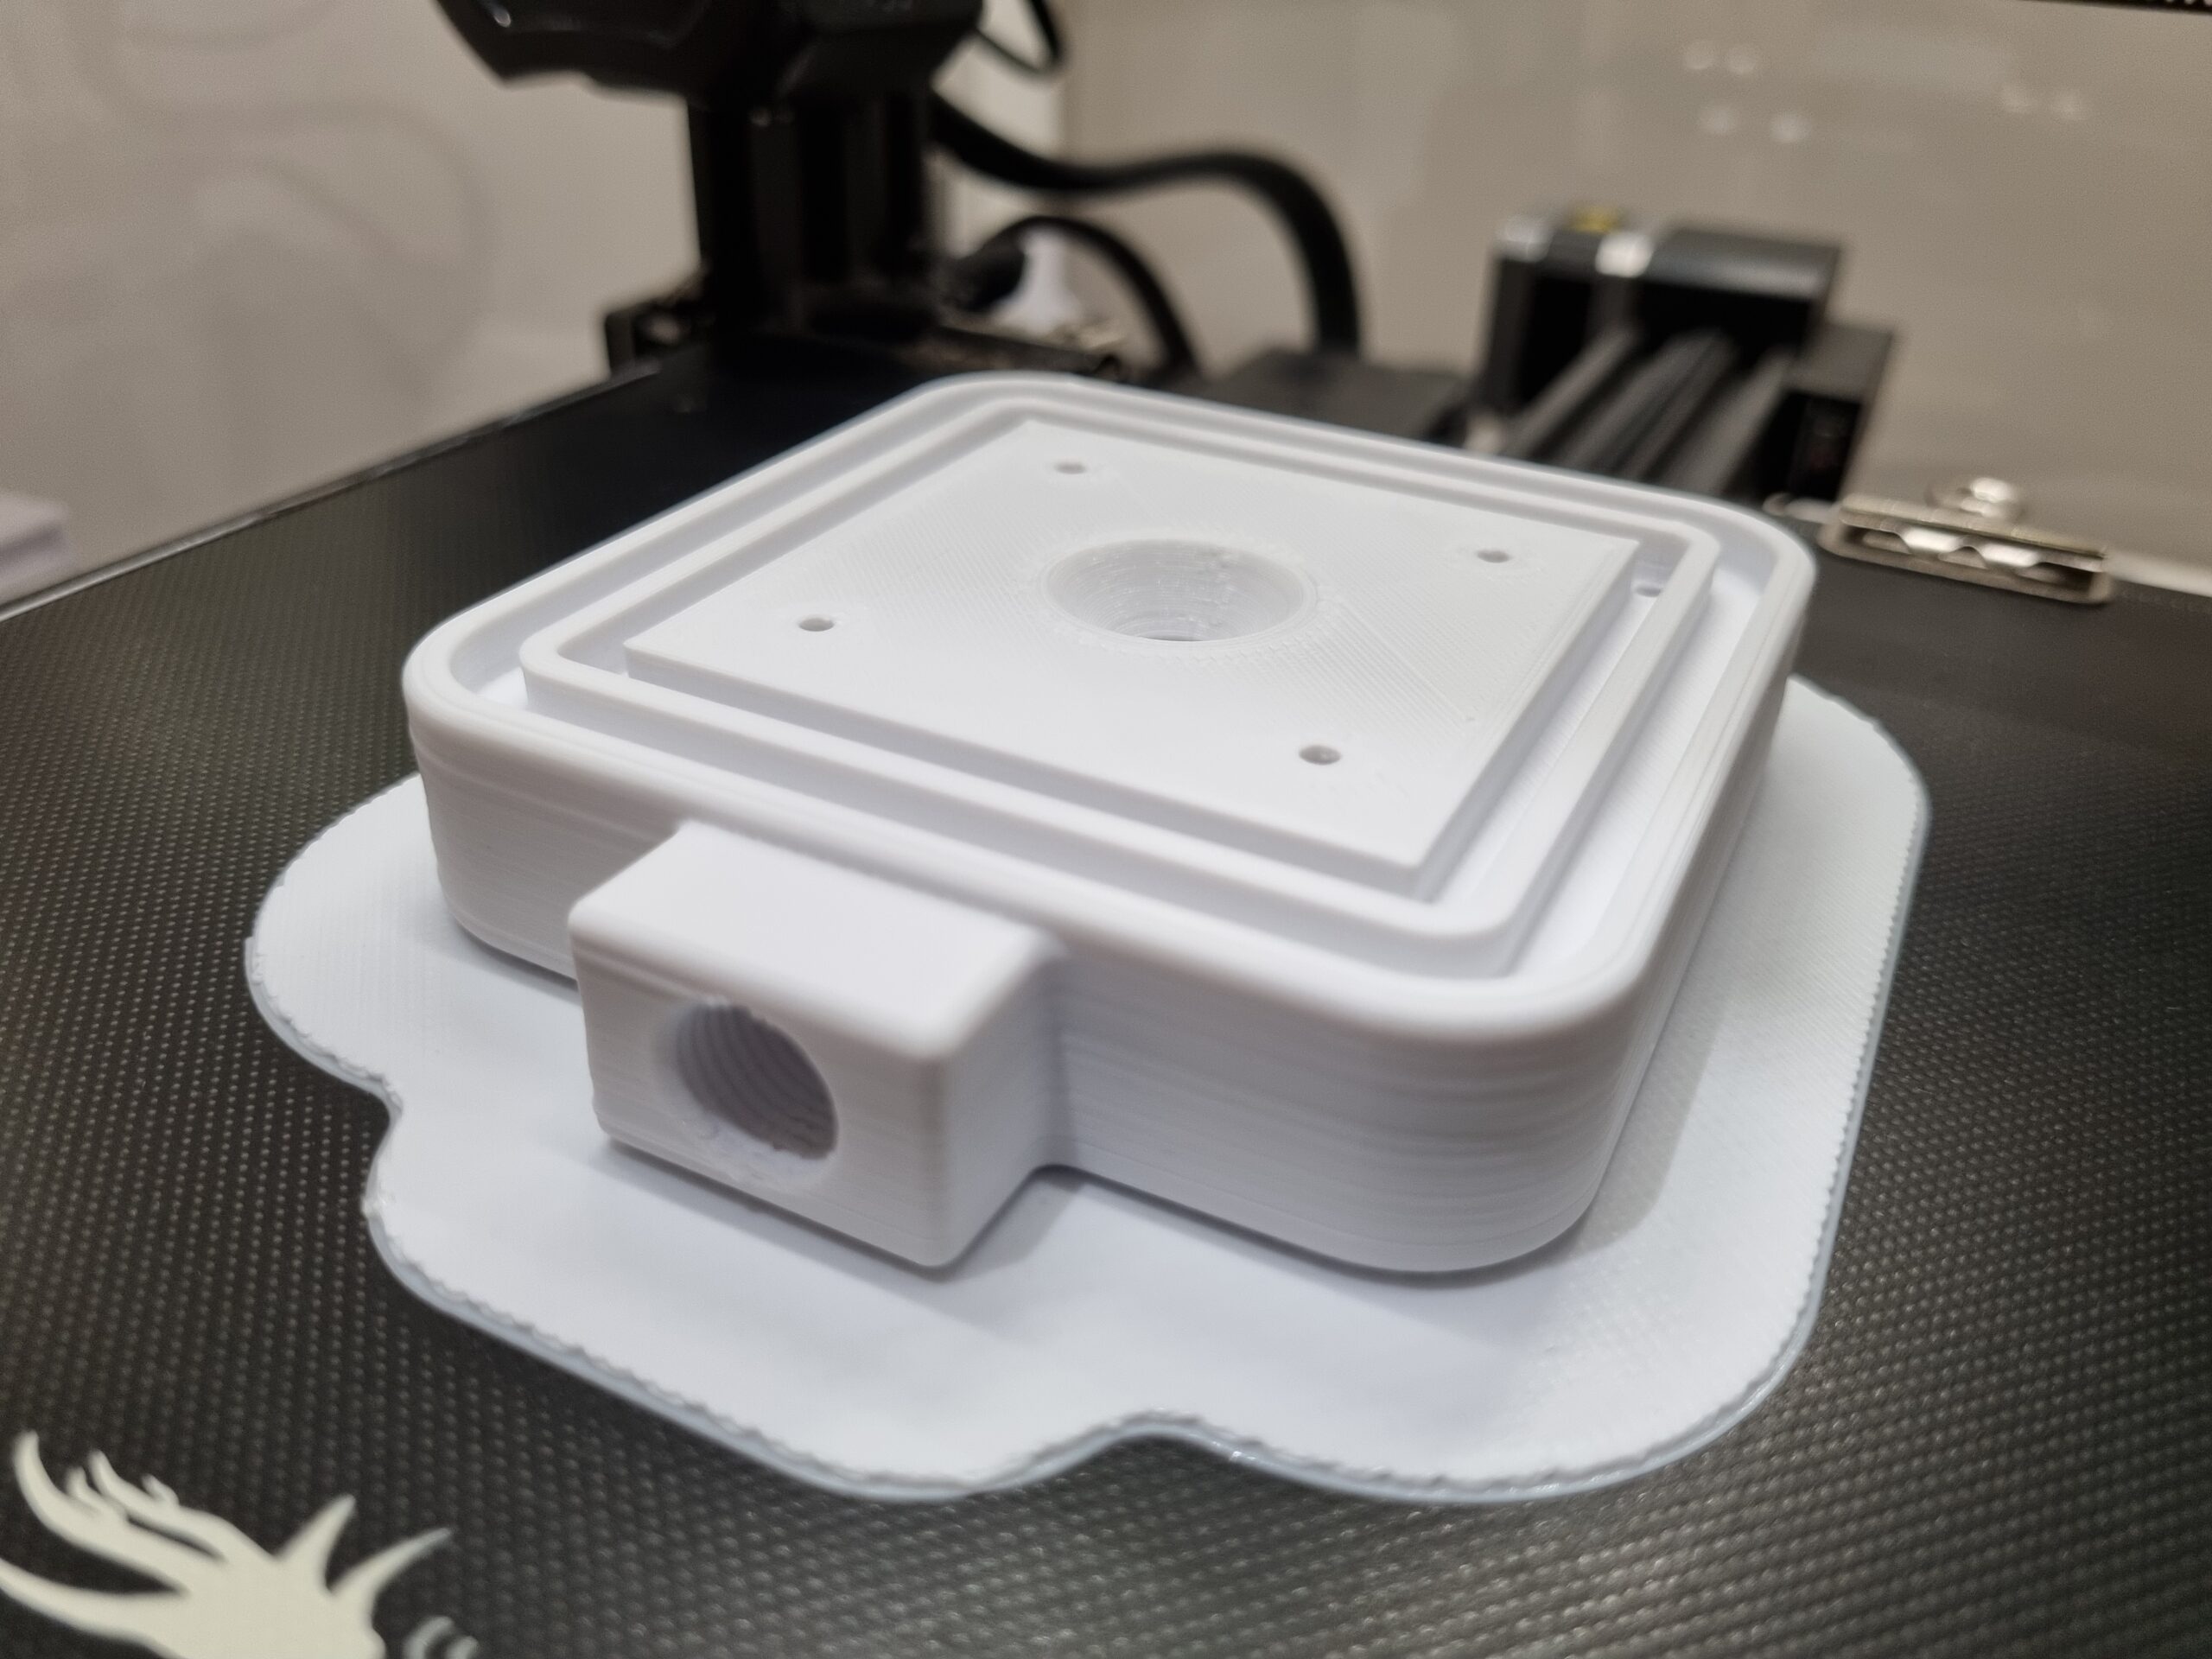
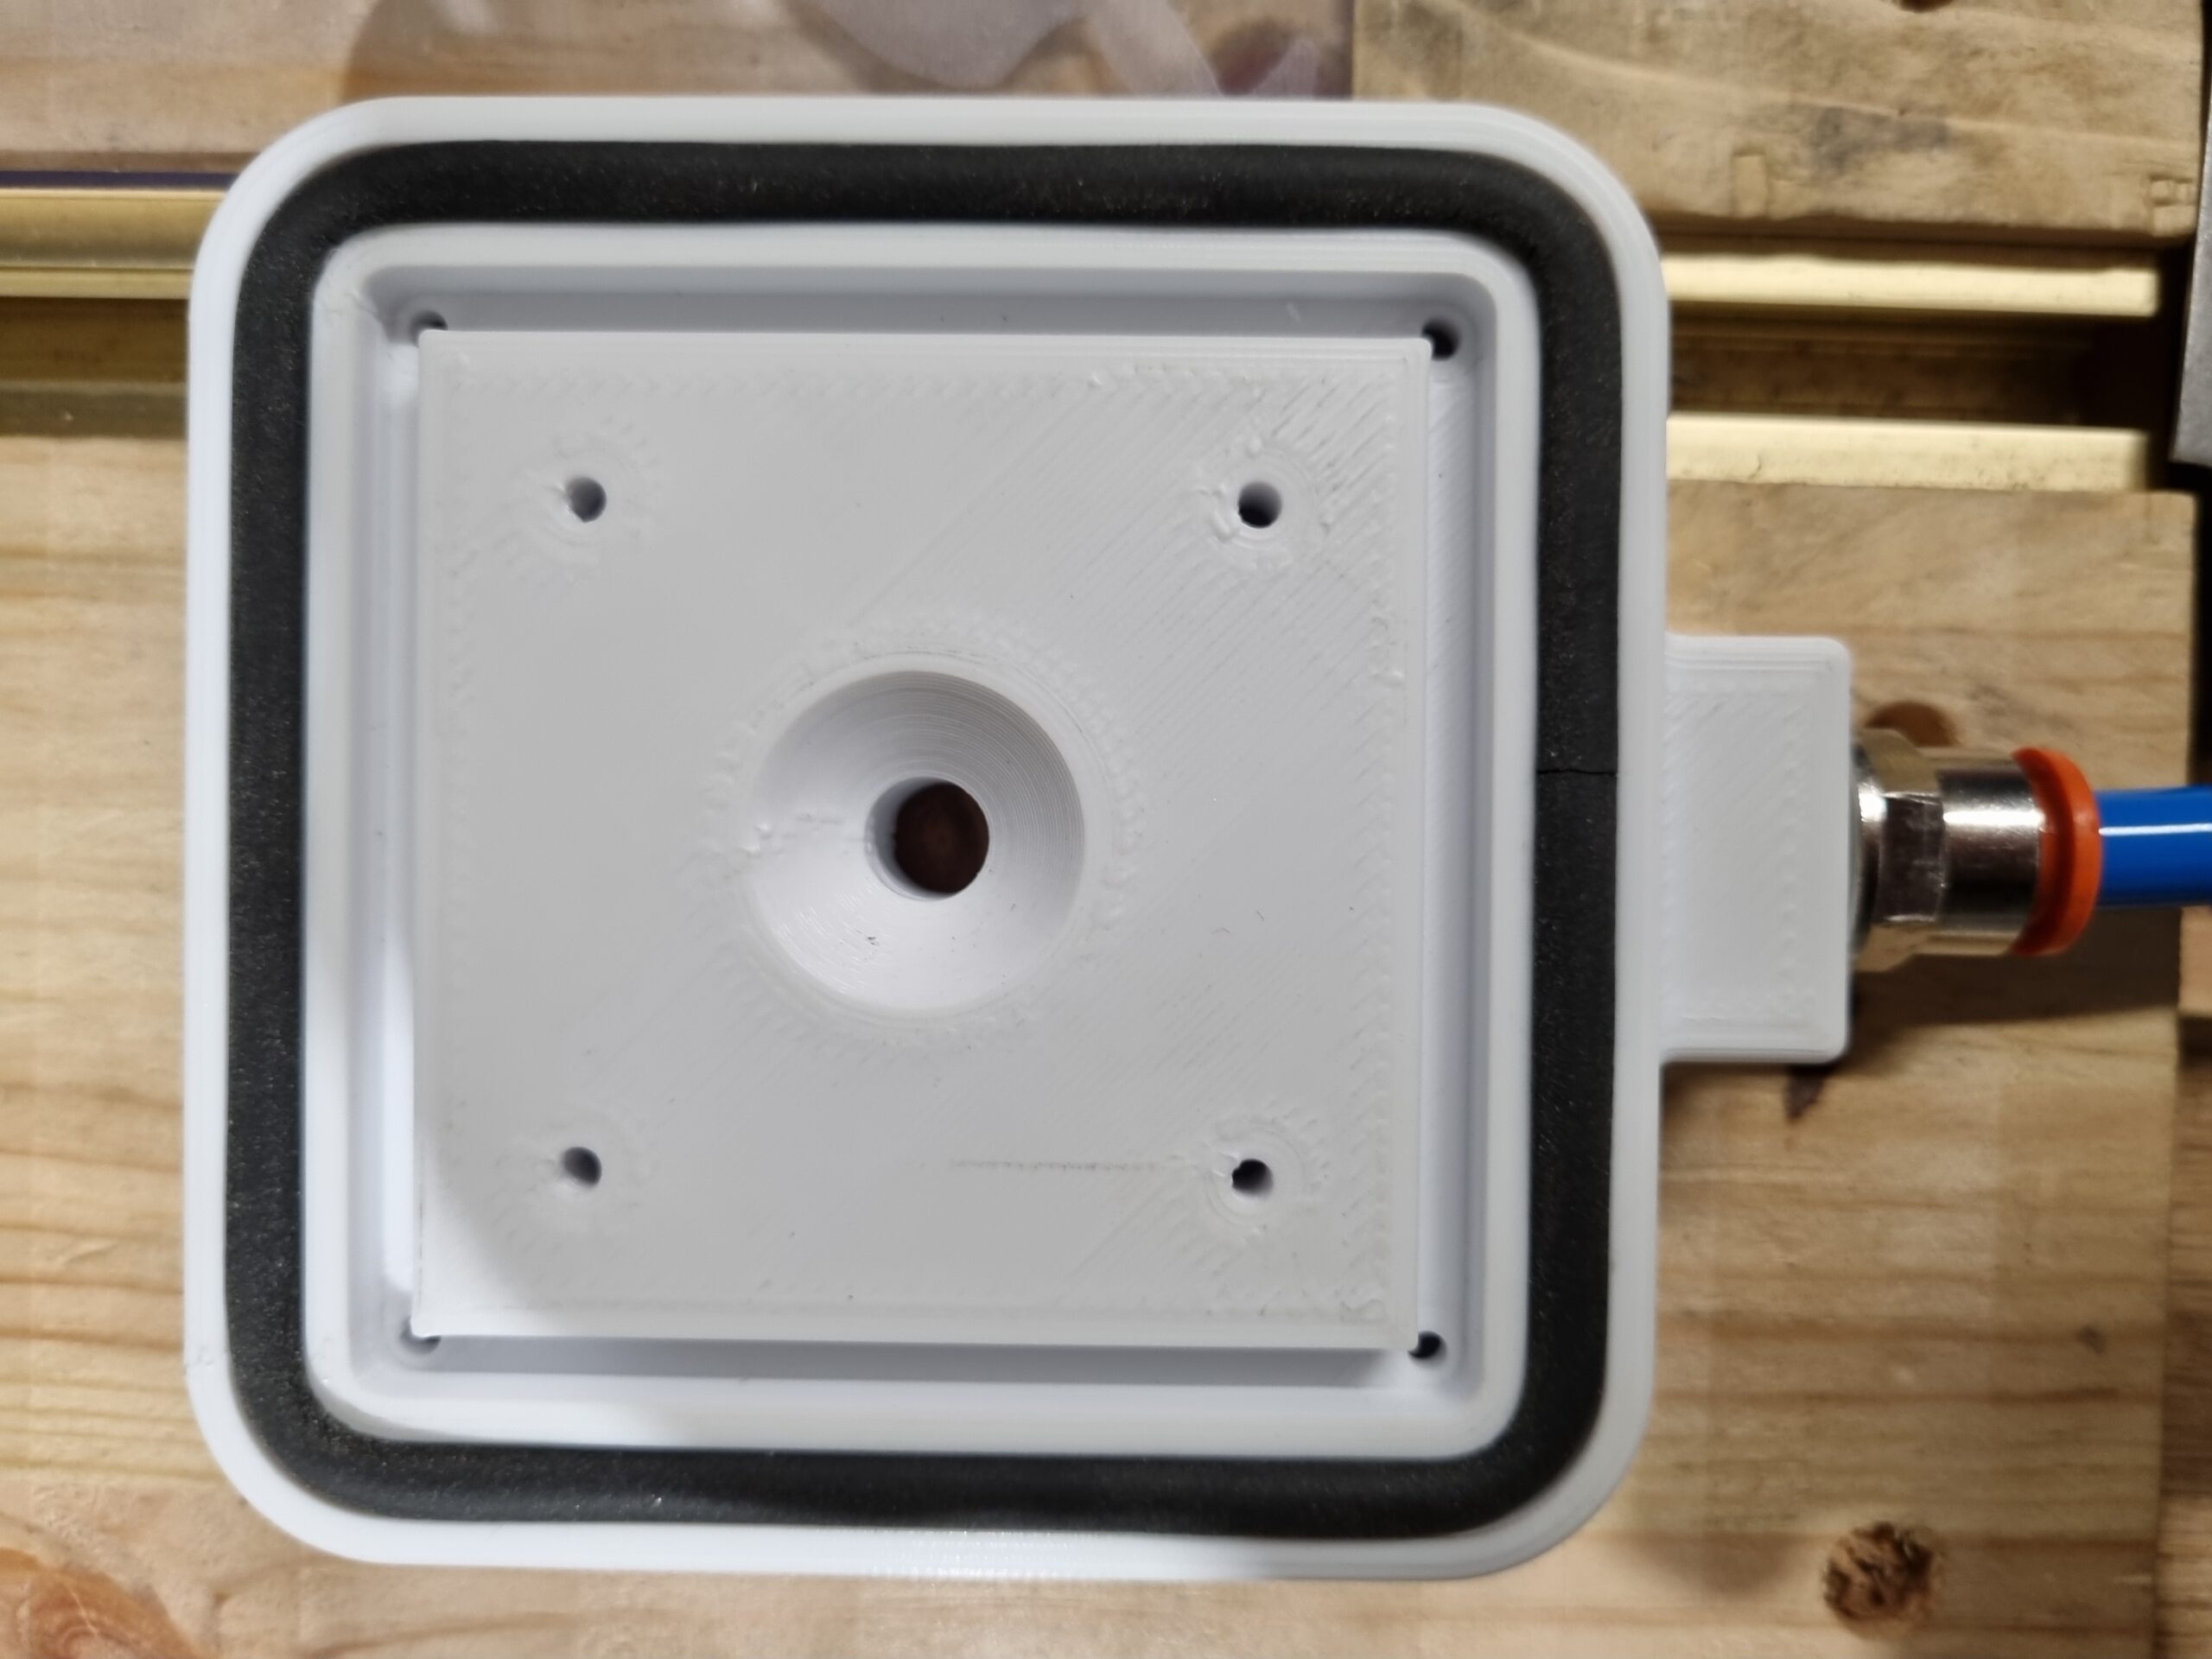
So, after a hard fight trying to print PETG vacuum pads, i was able to print the vacuum tap with PLA filament. I think PETG is somehow more teflon like for my printing bed and there fore the print got loose like 5 times in a row. So here it is finally ready printed. Print quality is not that good but lets see how it works.
So i went to a local retailer or maybe its even producer called ETRA in Espoo, Olarinluoma and bought an adjustable valve connector and the 6mm thick round EPDM gasket. The 8mm pneumatic connector did with 1/4 threads was of a wrong sort of thread even that the print said its designed for 1/4 pneumatic connector but i managed it by using a hand file so that i was able to force screw the connector in place.
The suction of the 106L min compressor seems quite hard so i think this could work out nicely. I have to print some more vacuum pads.
Still there is one problem i have to figure out… How to seal my vacuum system -> i have an idea to get the piece fixed to vacuum pad, then turn turn off a valve to seal the under pressure (vacuum) state to maintain the piece fixed without having to keep compressor on. May only work for slick surface materials.
DAY 3
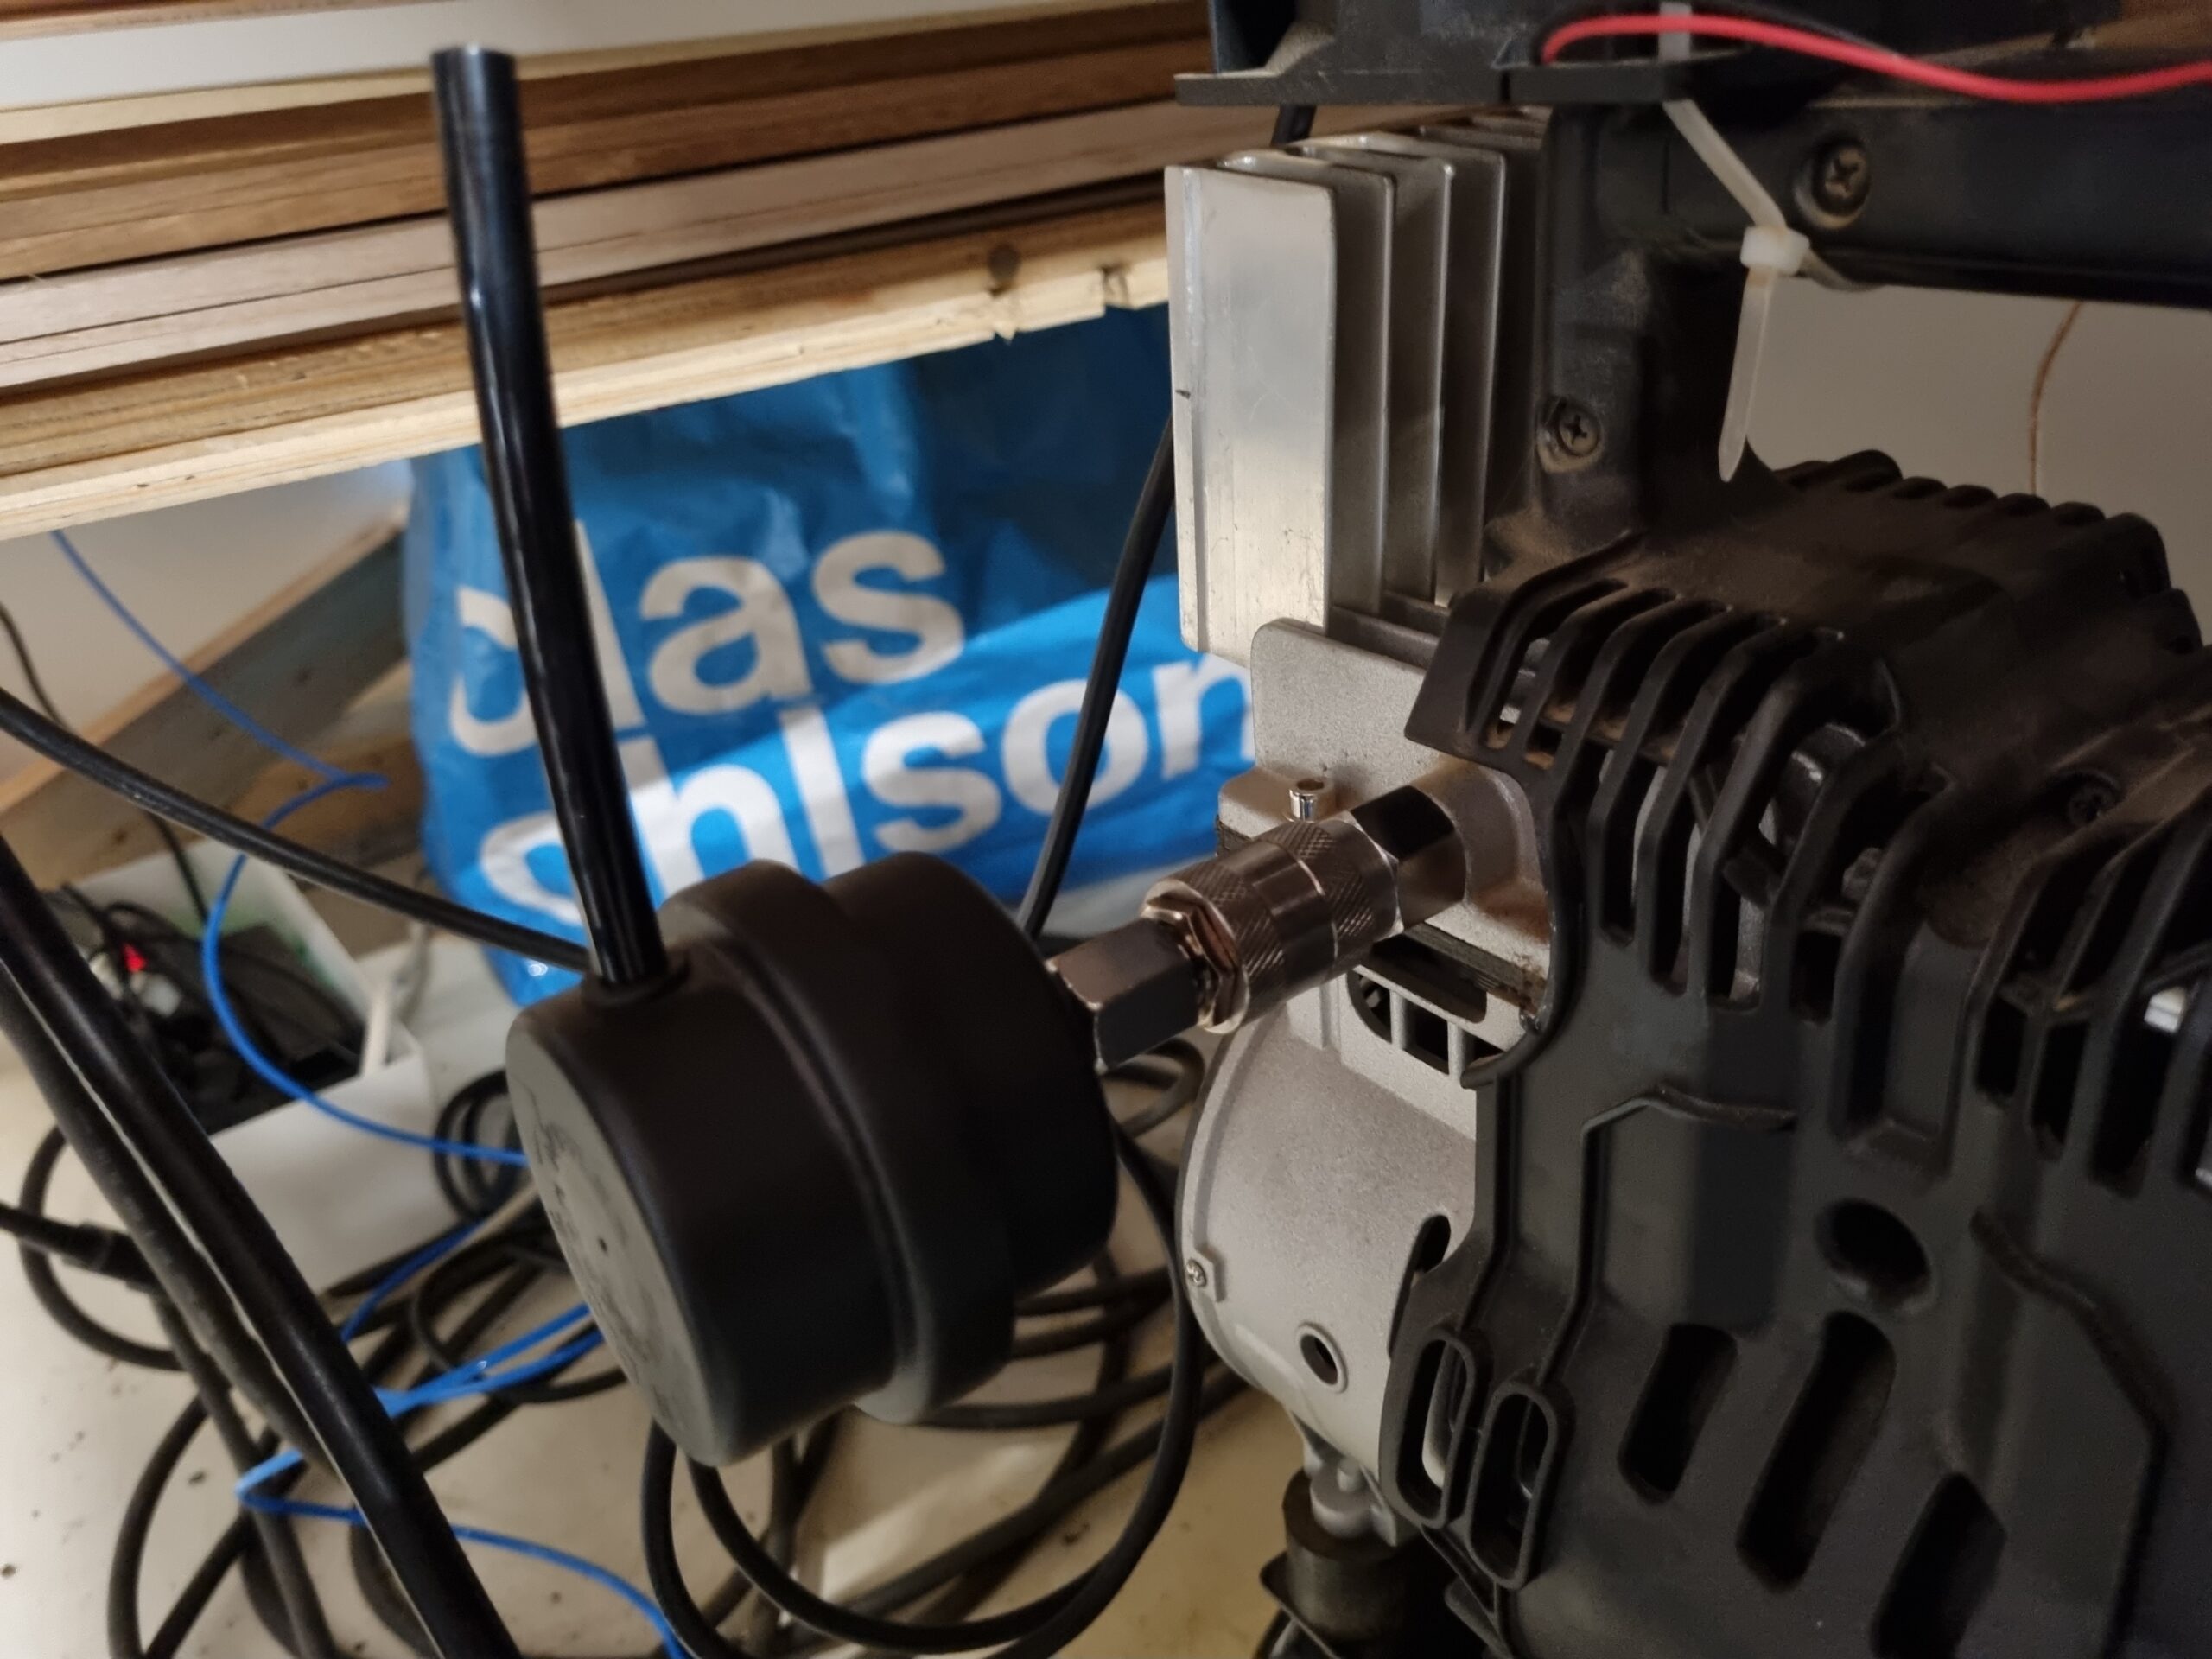
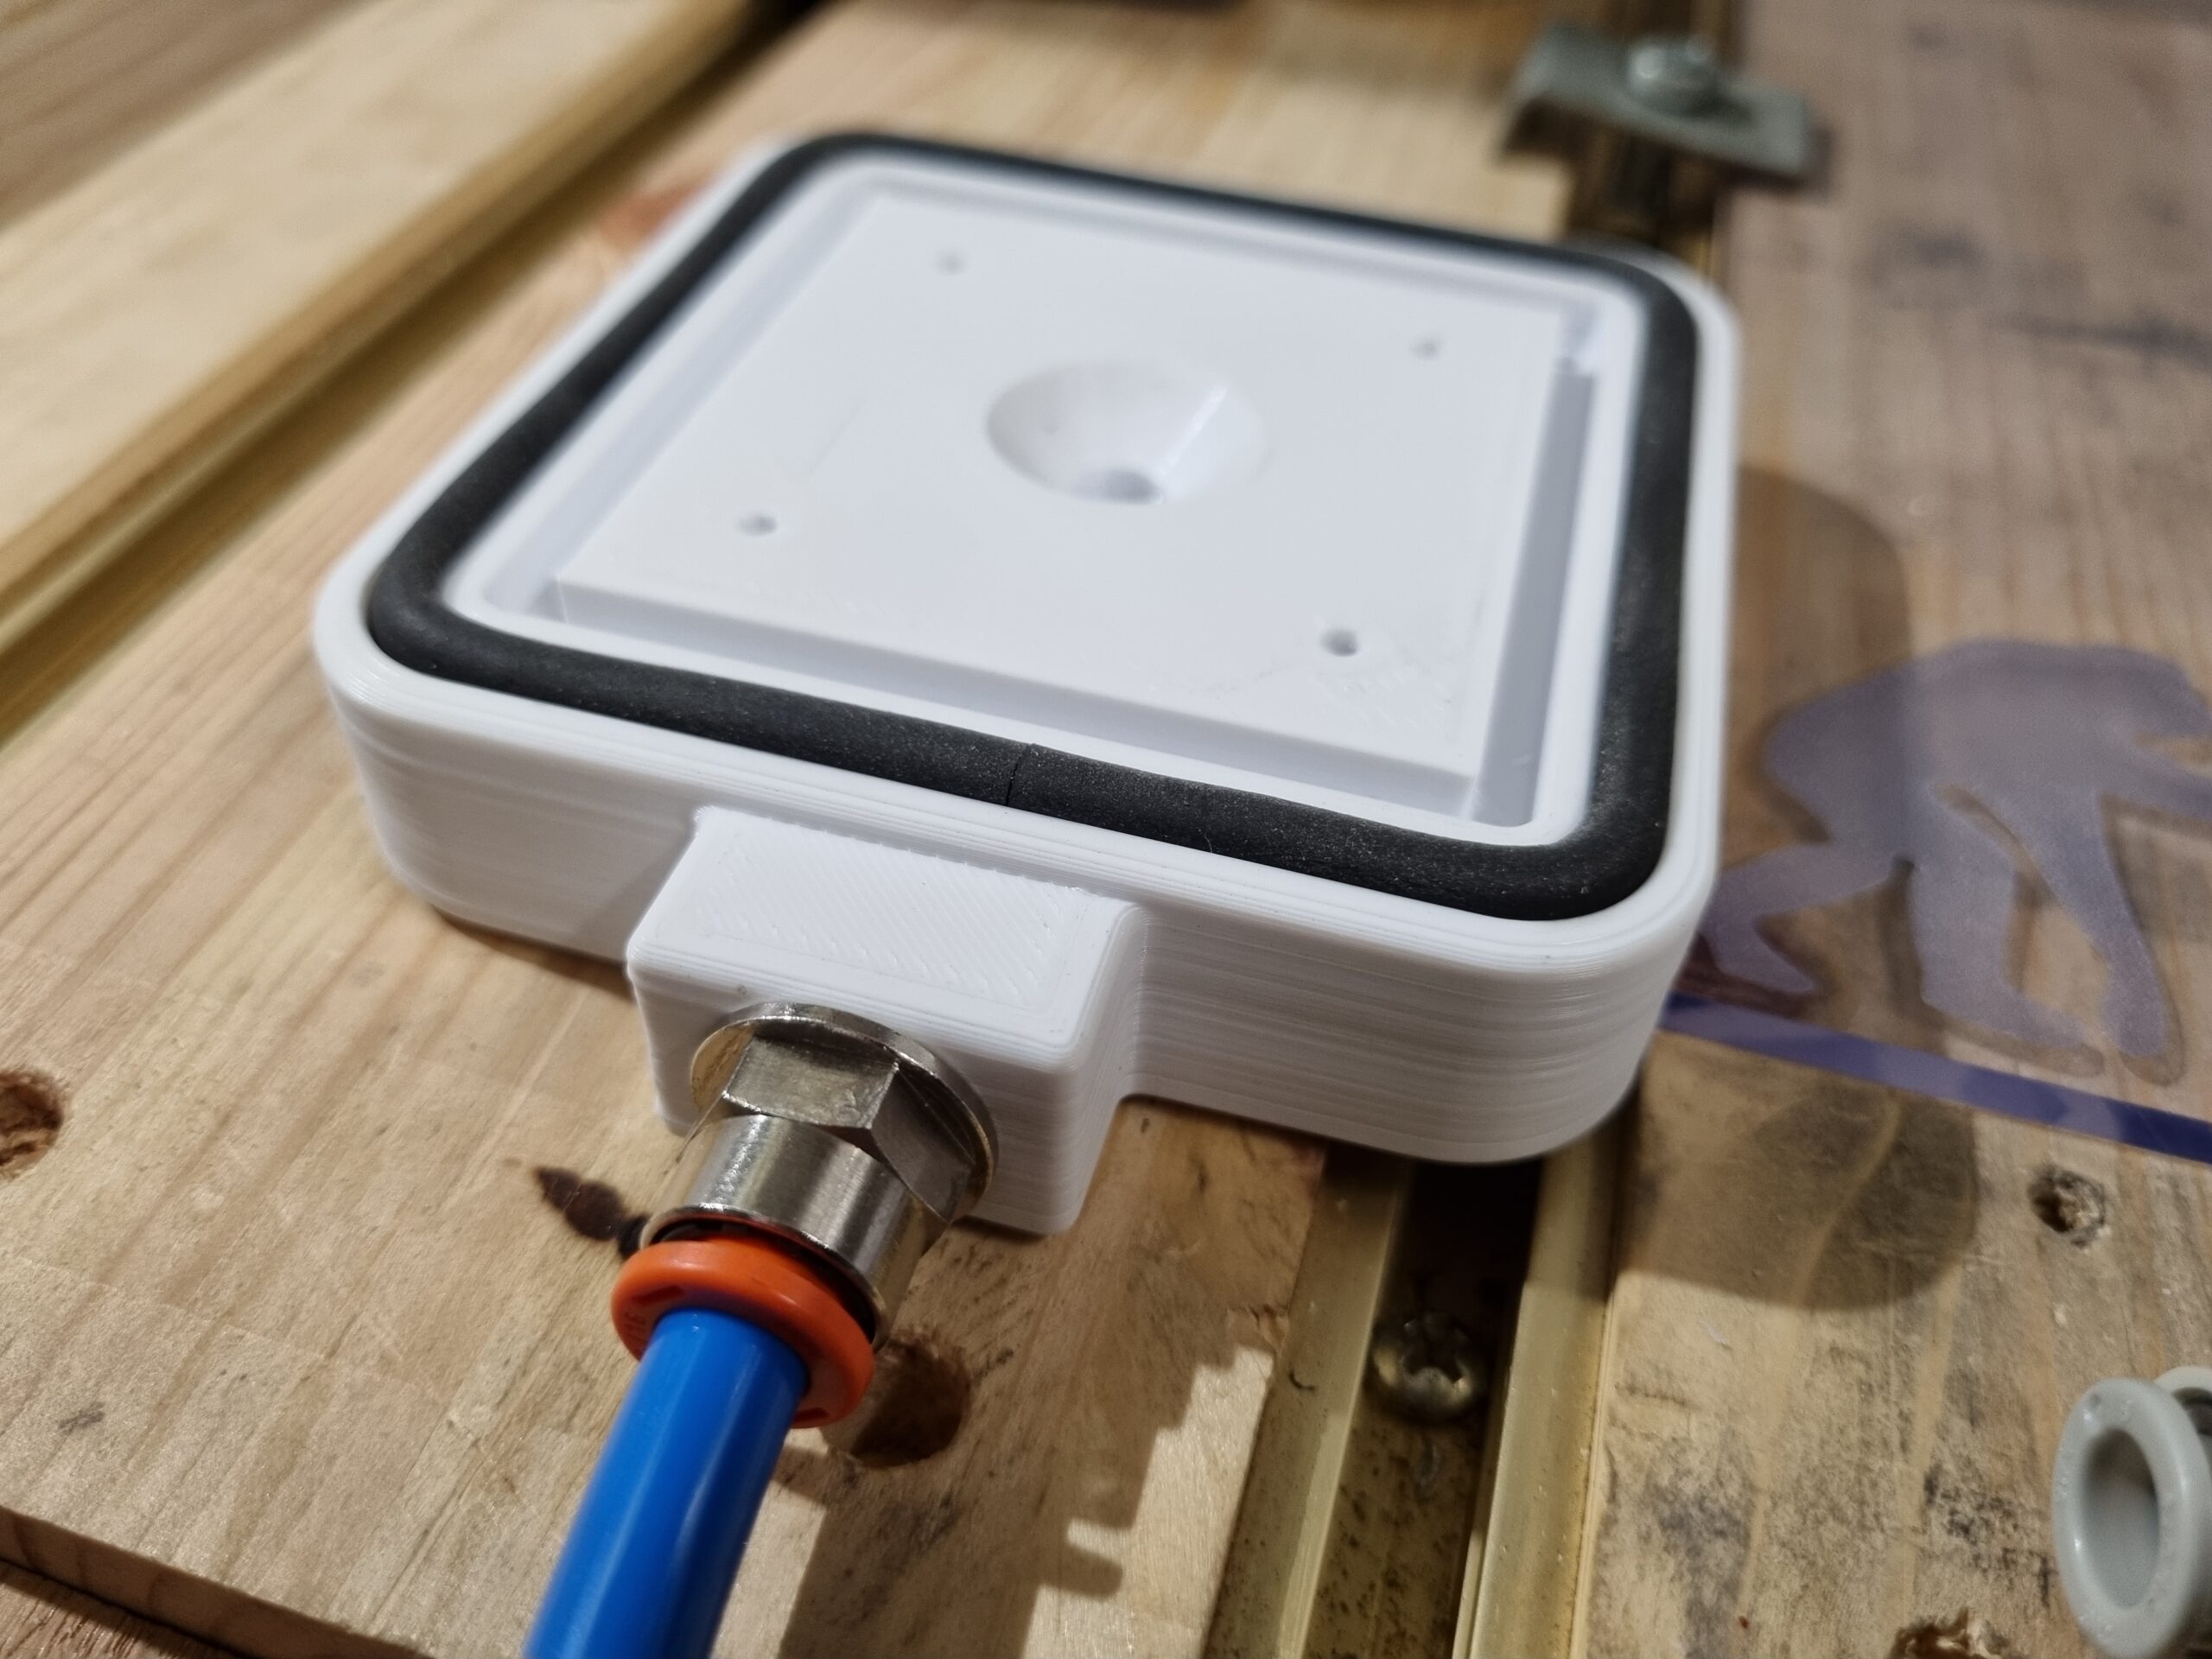
Some trouble with fitting the 1/4 BSP threaded quick connectors to the printed pieces without cracking the skin of the print…
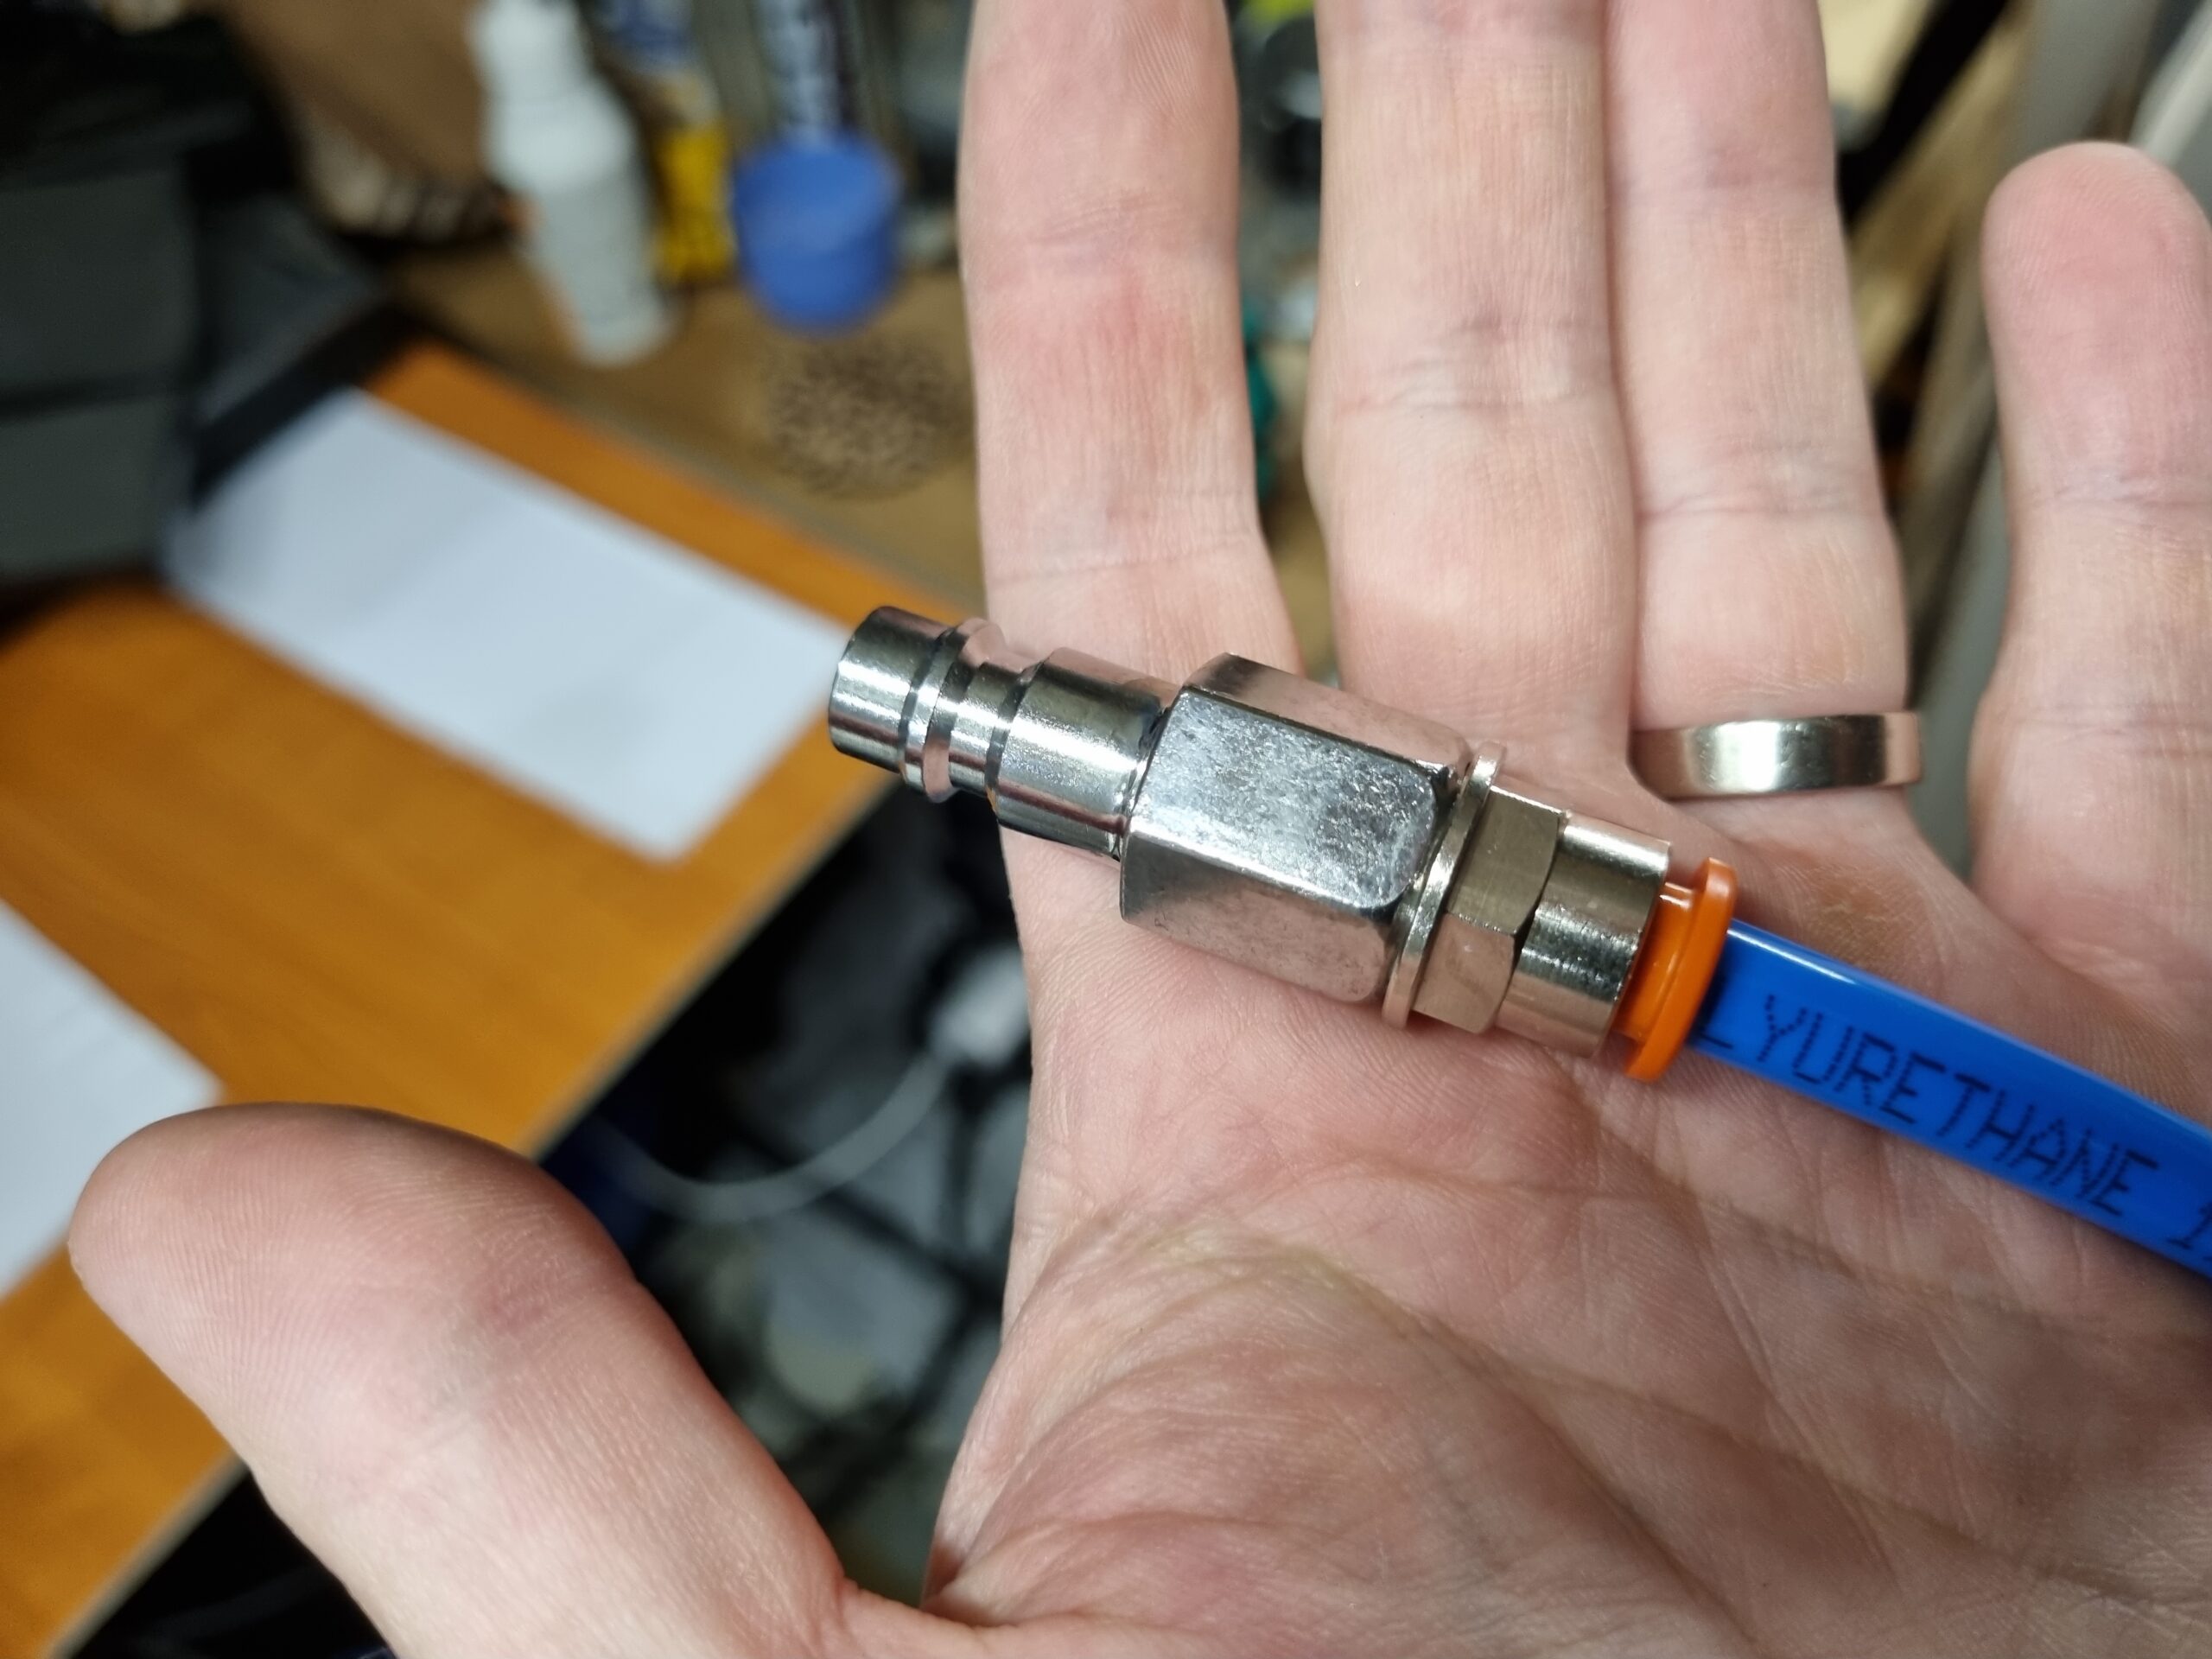
I found out there is 1/4 BSP straight threads and BSPT (tapered threads). The 3d model i used had tapered threads so that was one issue why the the print was cracked near the threads. So i had to modify the model with Tinkercad to have 1/4 BSP threads and then some of the quick connectors also differs. The one seen in pictures with orange quick release works best. At same time i reduced the center hole from 8mm to 6mm.
I had also to buy a 1/4 BSP thread tap to prevent breaking the model…
Another thing that i noticed is that my compressor started to behave weirdly when using it normally to produce over pressure which its meant for. When the compressor tank is compressed, the main valve seemed to leak air from time to time. Now when i have laser engraved longer periods the leak stopped. Maybe there is some kind of valve that doesn’t work that great if the air flow differs from normal use… (don’t know, just an thought) so i decided to order a mini compressor from Sweden to produce the vacuum. Lets see how it performs when ever it arrives… The shipping was just delayed with one week for some reason.
DAY 4
To be continued…

