
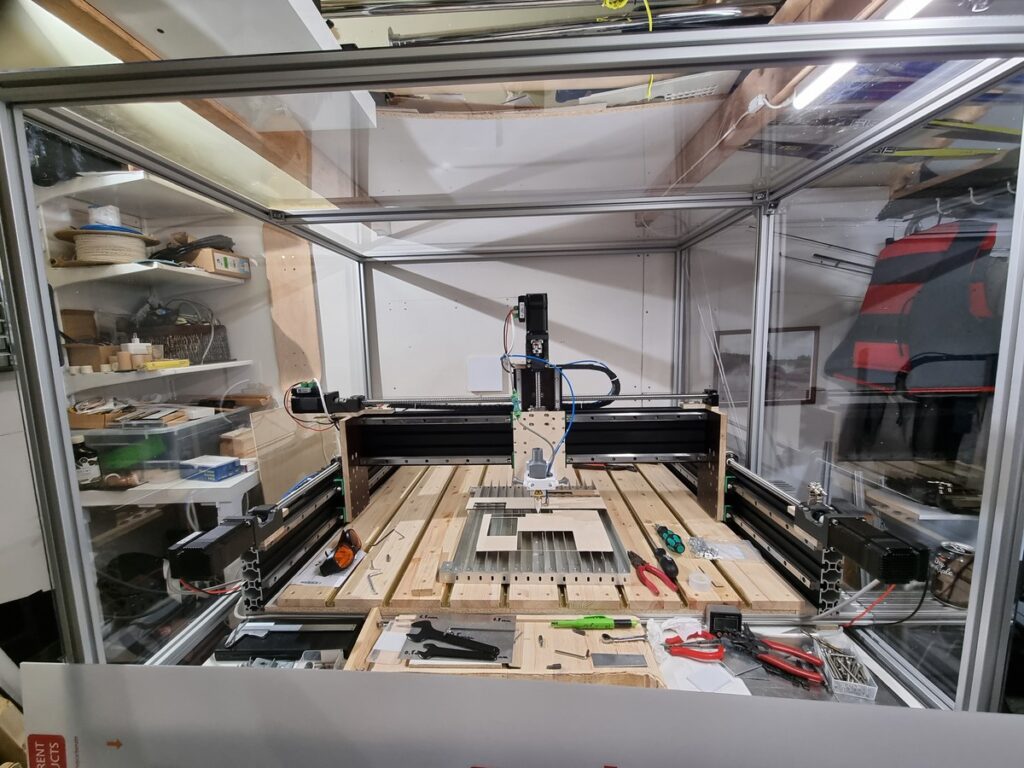
Enclosing the CNC machine
So I got the profiles from Easy-Systems located in Finland, Lohja. All the parts can be found from the part listing.
First of the lowest part of the enclosure needed to be screwed to the table. The table material was quite dense so it needed some predrilled holes to get screws into the wood. The profiles from Easy-Systems were fully straight with no bend. I checked them against several flat surfaces that I was able to find like home walls, kitchen tables and water leveling irons etc, so really good quality profiles!
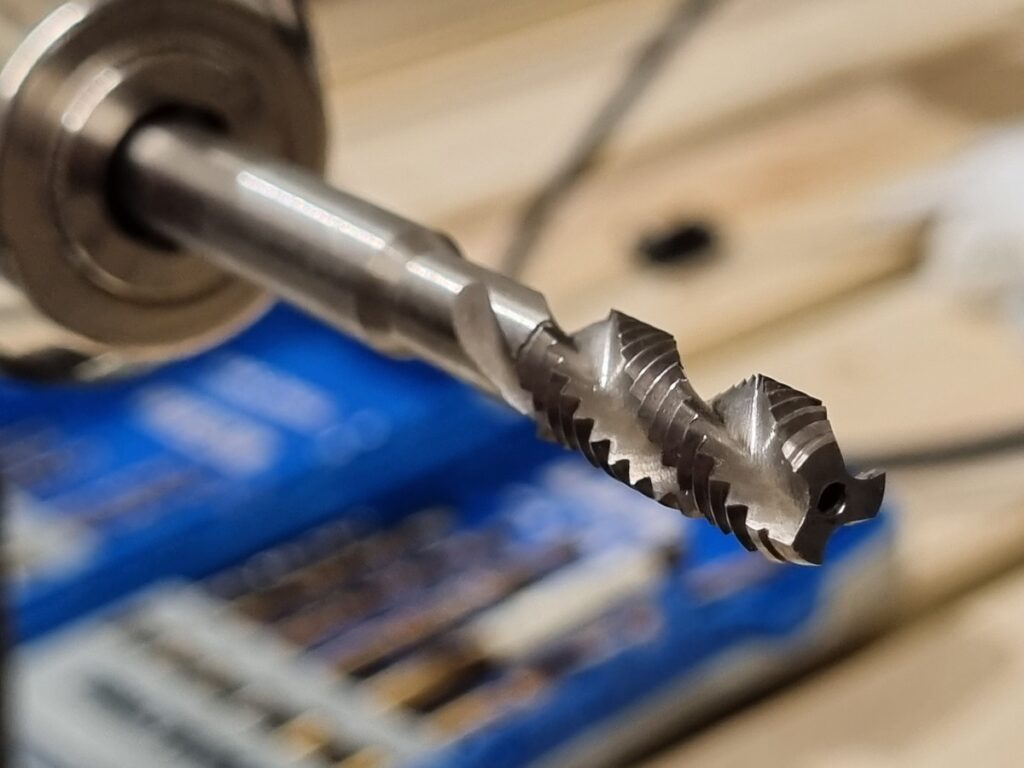
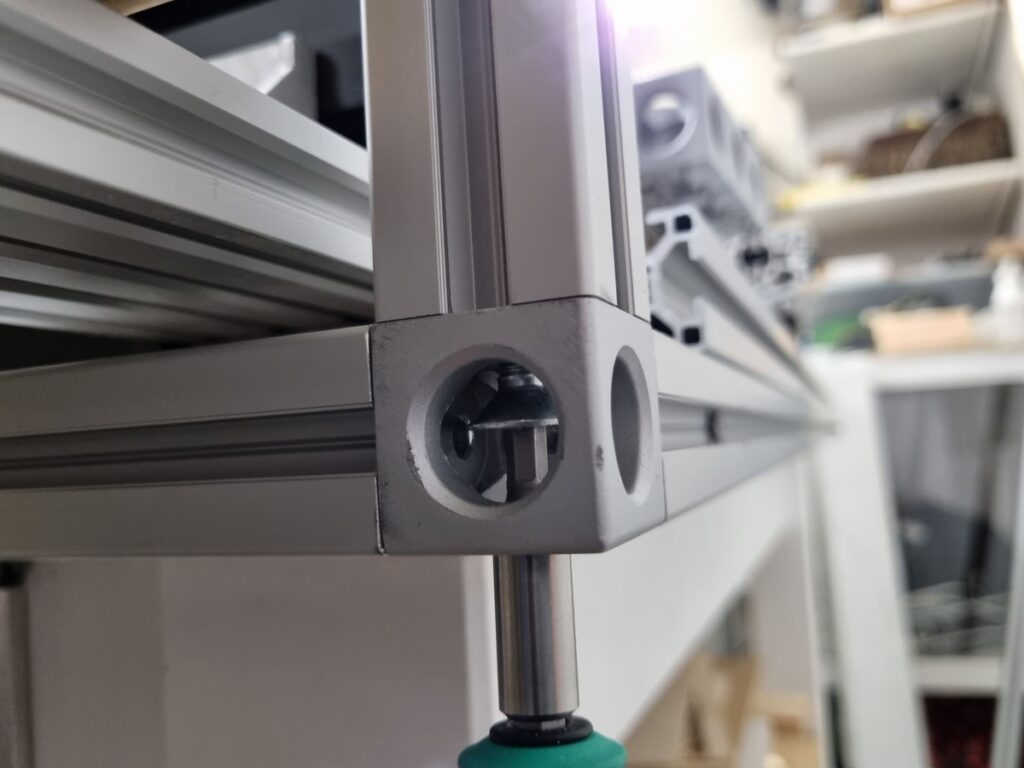
The depth side of the table profiles (y-axis) were cut to 1200mm length first using a iron saw but then a jig/table saw was used since it was quite a big task to saw the profiles. After this the profiles needed to be threaded so some twisted drill taps were bought from IKH. They cost around 10€ for M8 tap.
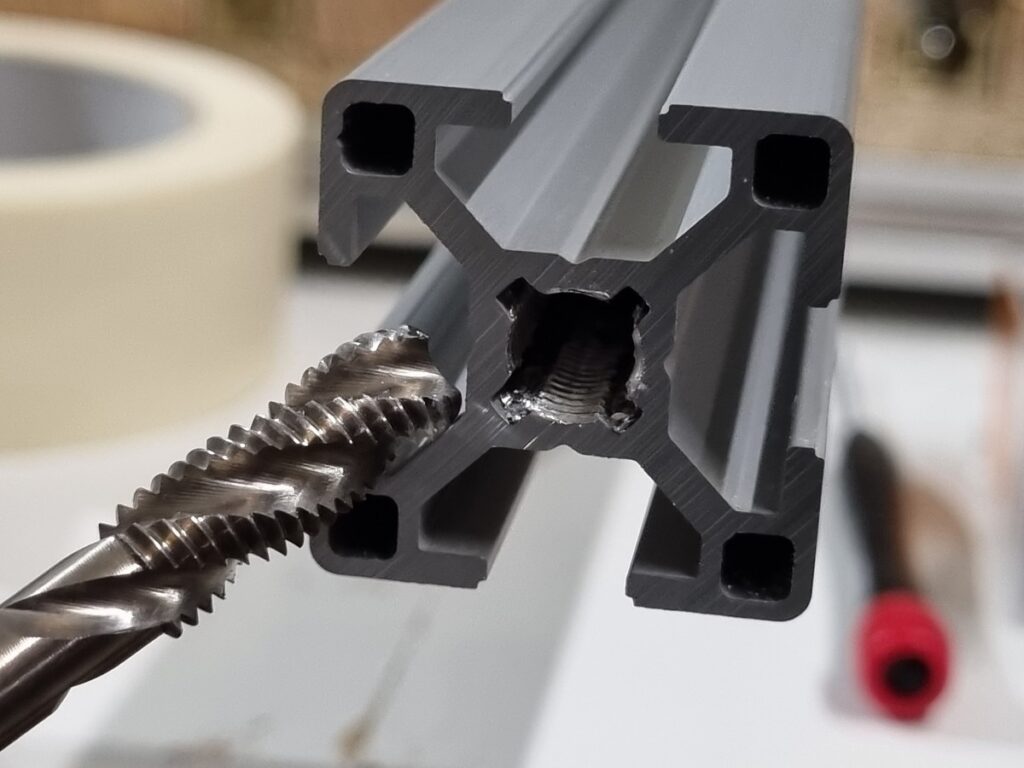

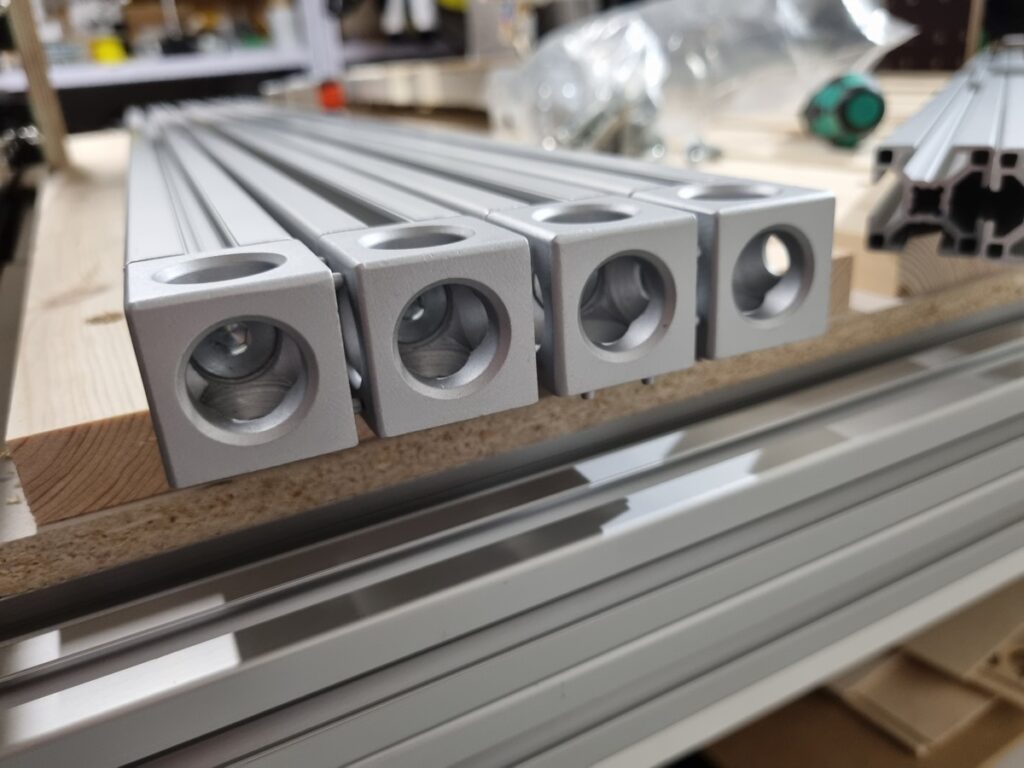
After tapping threads to the profiles which in this case was really easy by using a battery driven hand drill the profiles were fixed to the table. Only the back and front side was fixed to table while the rest were fixed using the threads in the profiles and some 3d cube connectors.

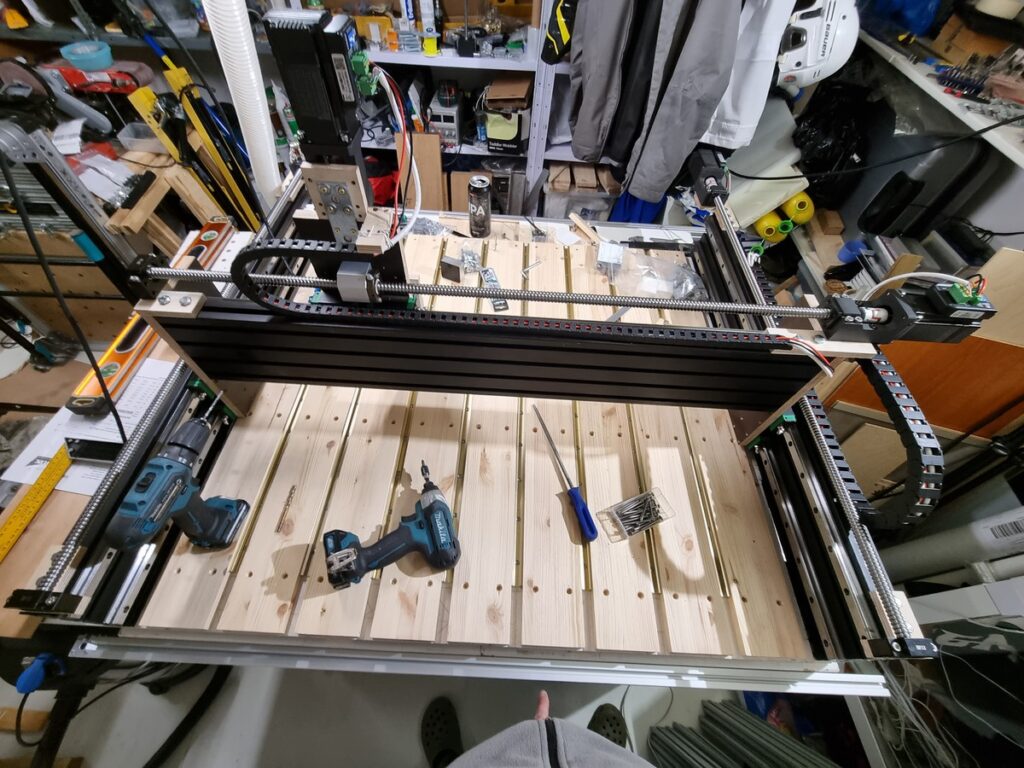


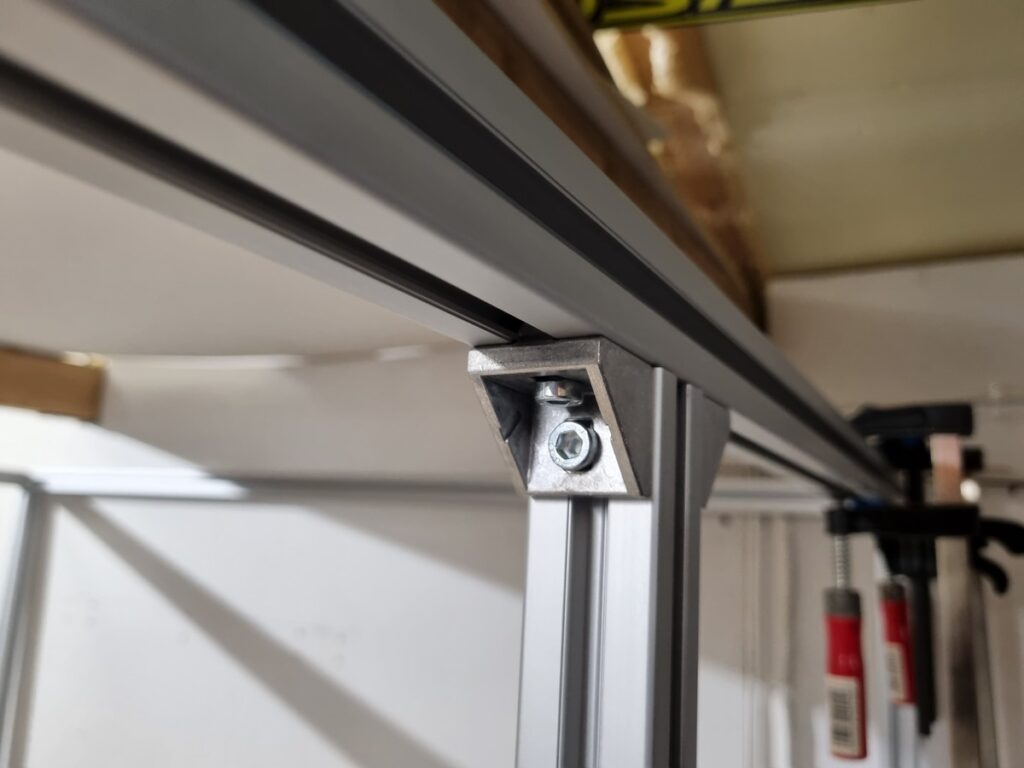
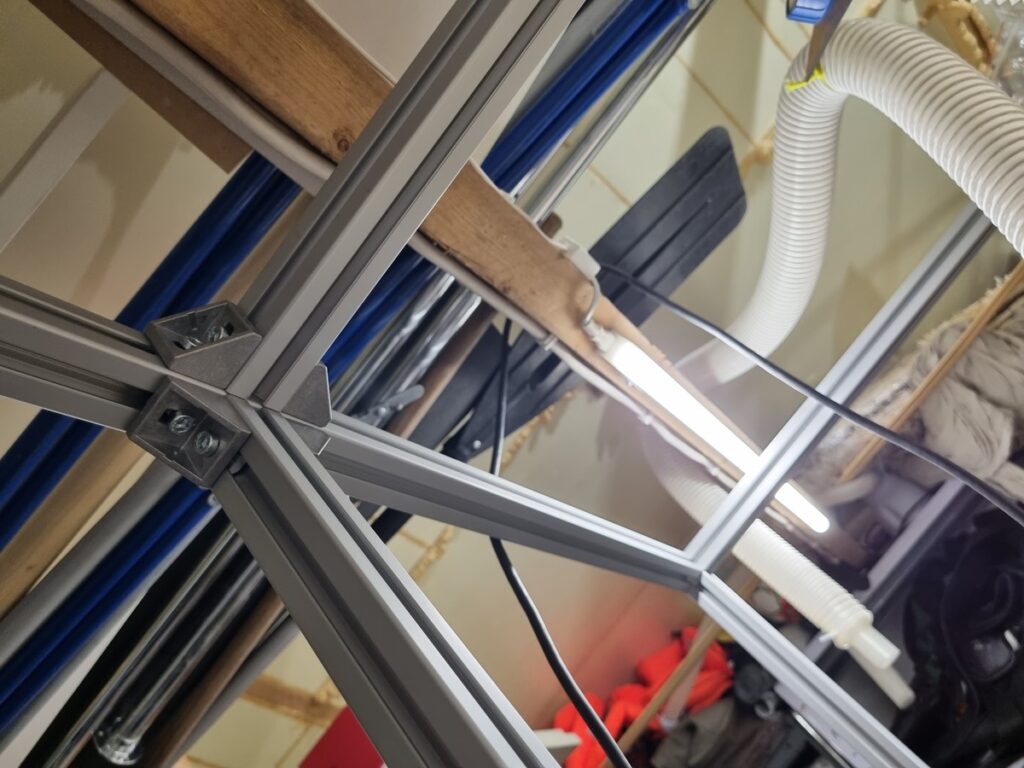
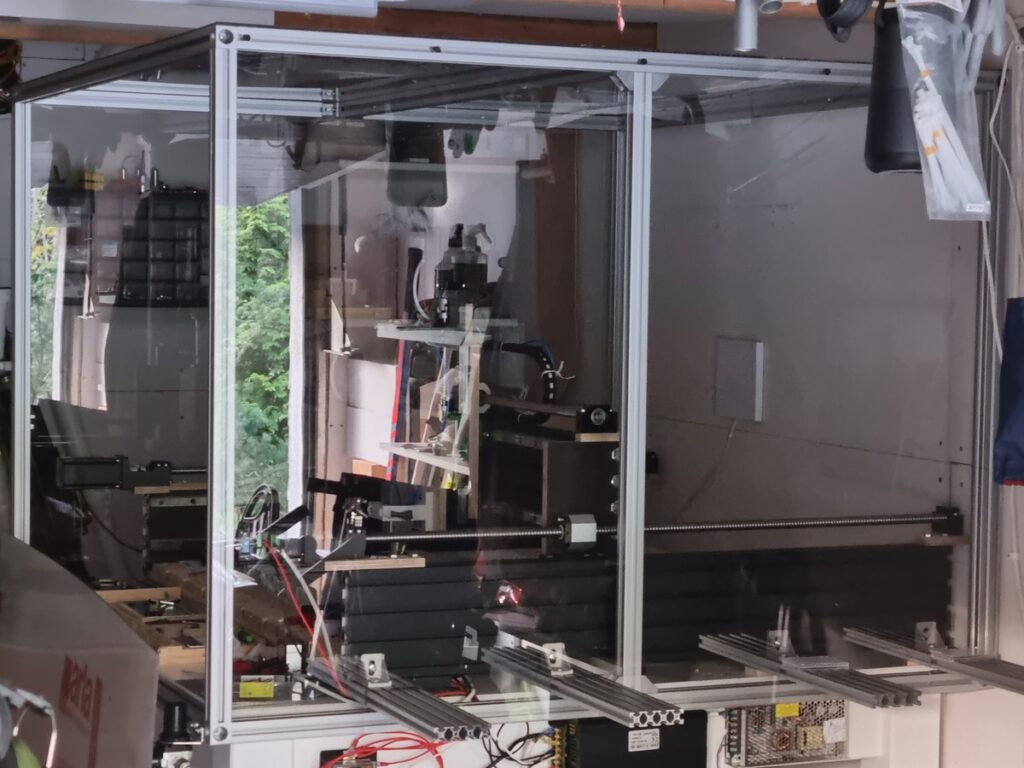
After this the enclosure wall profiles were erected and the the full frame got its shape. Really easy to get this done!

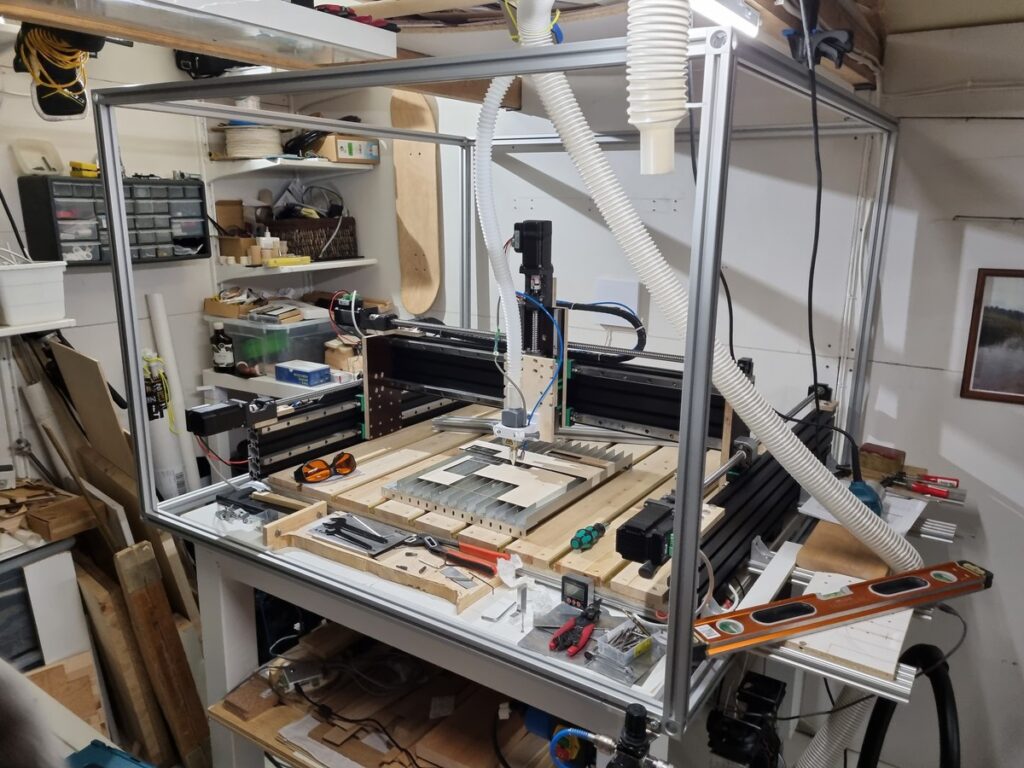
Now that the frame was in its shape some extra steadiness profiles were installed. One on right side and one on the top. The left side could not be installed since the stepper motor would not allow it. It would have nearly hit the profile so it was left out. Also the backside didn’t get the steadiness profile since the whole backside was wanted to be open for smoke extraction through the wall.
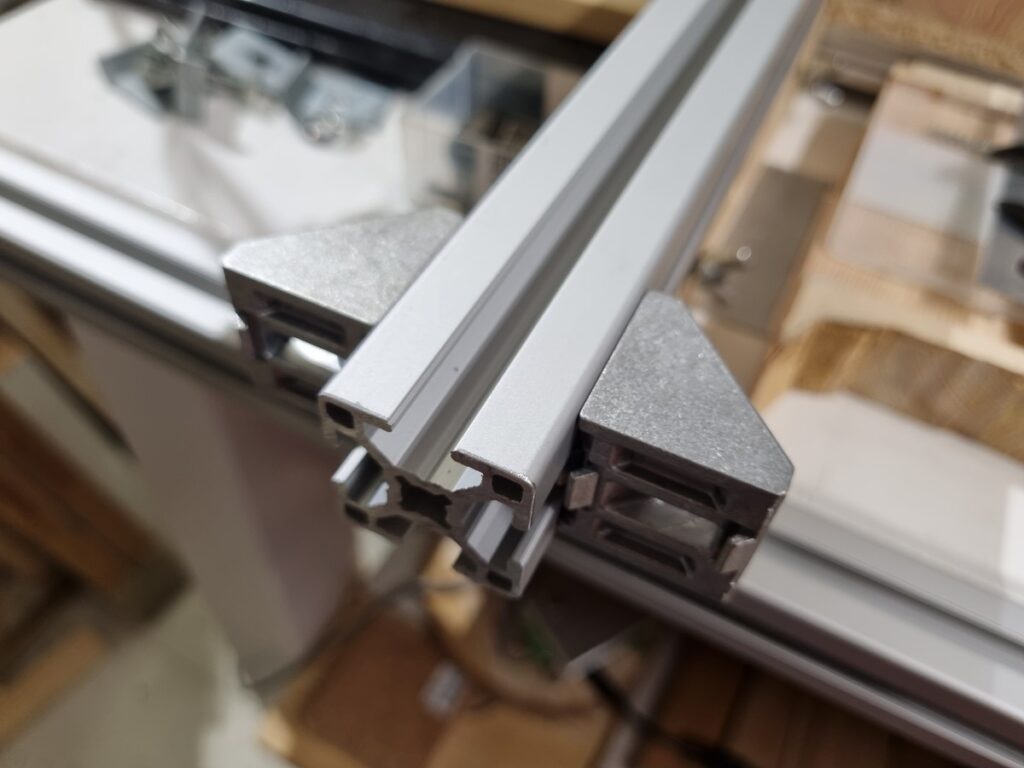

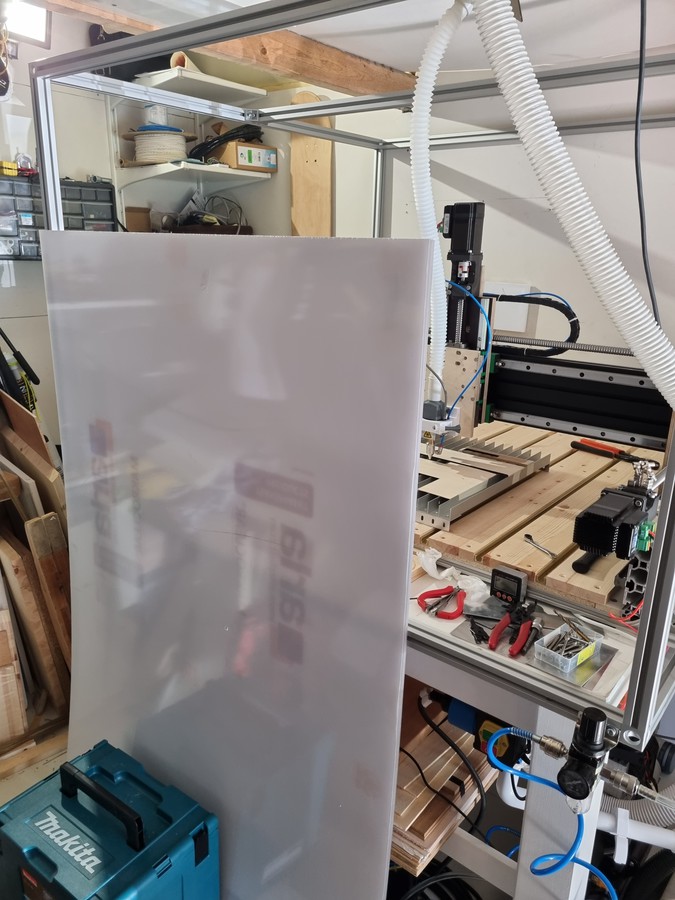
Then some polycarbonate glass was bought from IKH -> ~65€ per sheet of 3x1000x1500mm. The polycarbonate glass was cut with a rag knife by first applying light pressure to get a straight line, then applying hard pressure and made something between 10-20 “slice cuts”. around 1mm was always left and didn’t cut through but a bend at the cut line snapped the polycarbonate nicely!


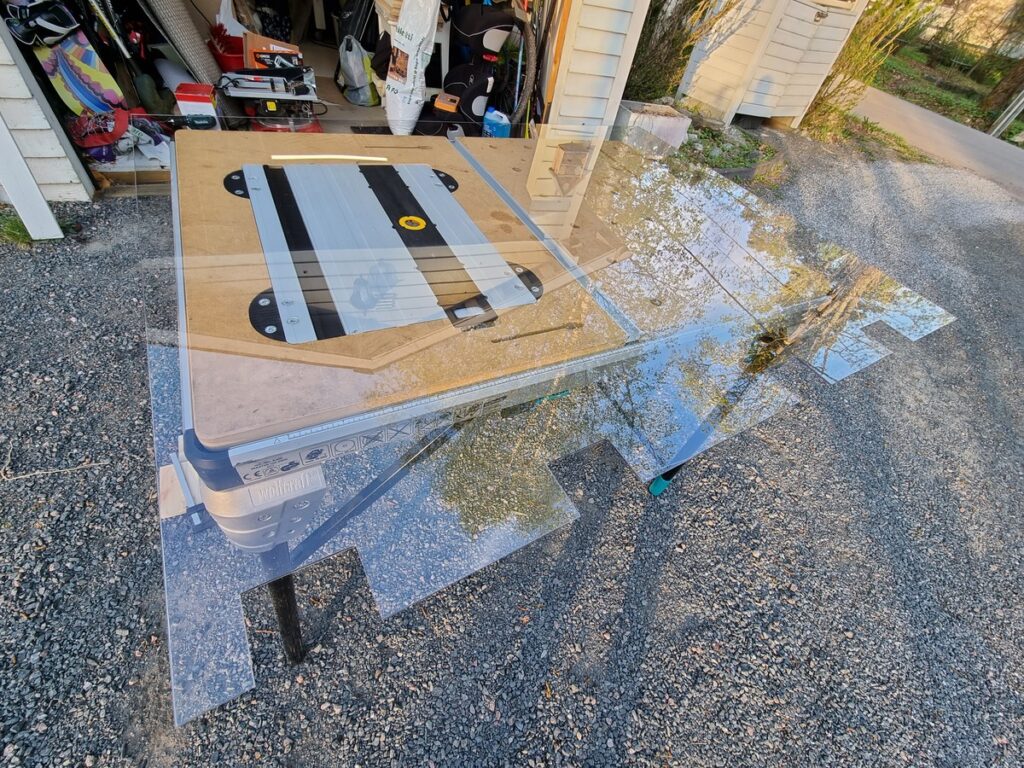
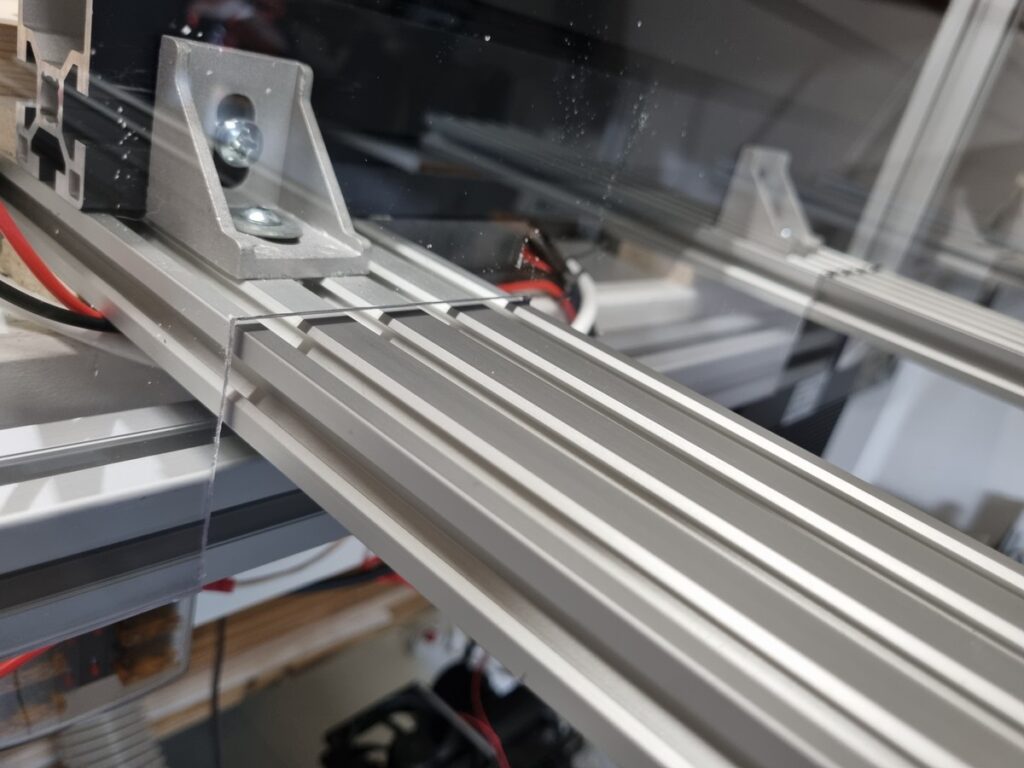
The hardest cut was the right hand side glass because it had profiles that I planned to be used as material storage supports :). So The slots were sawed with iron saw and then using the rag knife making cuts from sawing end to sawing end and finally again bending the piece until it snapped off as nice cuts.

Finally the door for the enclosure was done. No hinged door is able to be used so the a L profile was used at the bottom of the enclosure bottom part making a 3-4mm slot where the door glass can be placed.

This works for now. I will close the front cover lid with painters tape which I know is bad but works for now. Later on some handles and closing mechanism will be added. More about that when I figure out a good way for doing it. Also a big task now is how to get the vacuum hose and the laser intake hose through the glass at a specified point…
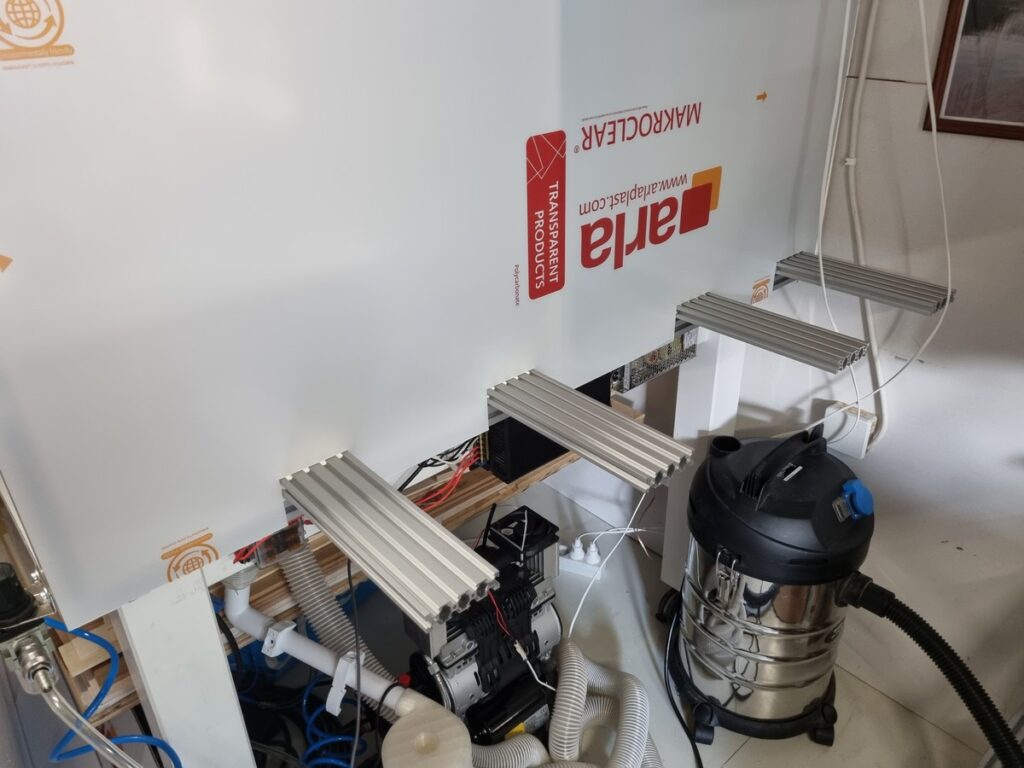
Smoke is not coming into garage currently but the blower is a 100m3/h blower so I plan to buy a 24V 390m3/h blower mainly meant for boat use. Hope it will work ok for extracting smoke from the enclosure outside.
