
CNC machine from scratch
I have to admit, I’m totally n00b what comes into building a CNC machine from scratch. Many of the things which led me to start planning and ordering pieces to a 1605 ball screw using HGR20 (X & Y axis) and
HGR15 (Z-axis) linear rails have been learnt from Facebook groups like CNCSuomi (which I created).
The ball screws and HGR rails where ordered from a AliExpress retailer -> CNCCANEN and the stuff was chosen to be shipped from the Czech Republic. The shipping was really fast and dropped in around 1 week after the order had been placed. One of the shipments was logistically shipped with wrong items but it was sorted out and I finally 1 week later got the correct items. In the below video you can see what i’ve currently have received.
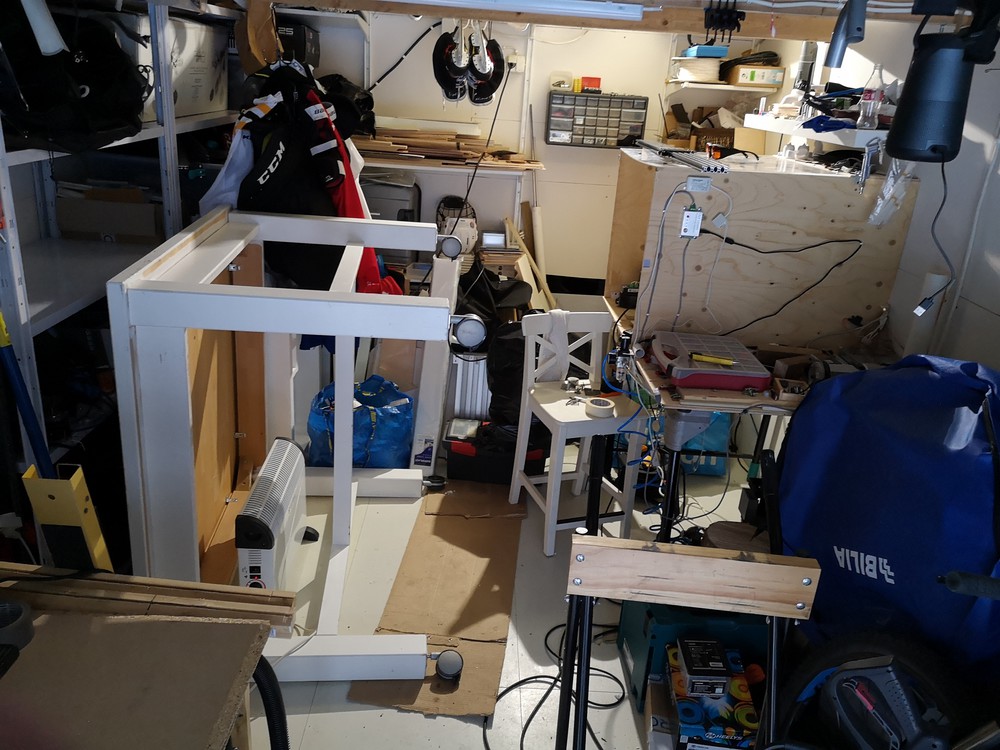
As you can see my workshop is really organized. On the left side you see my new second hand table which I collected from a finnish second hand site called Tori for 40€. A really good deal for a sturdy, heavy table!
On the right side you see my current CNC enclosure made of pine plywood. I enclosed the CNC when my Opt Lasers 6W module arrived so that i could steer the fumes outside through a wall fan duct. I probably need to enclose the bigger machine also. The idea is to use the electronics from the current machine to the new one -> (Planet-CNC MK3/4 controller, ihss57-36-20 closed loop steppers and a new 1500W 48Vdc power supply)
Well a little about the plans then! The golden idea is to make an 100x100cm CNC frame with a 30cm high Z-axis. The actual rigid frame is coming from Ratrig and consists of 40160 (40x160mm) aluminum profiles. I’ll have to wait for them. I’m waiting them to arrive next week. They were delayed because of plastic cable guide chains, which I had cancel to get my profiles shipped faster :). So I need to get the cable chains later on but I think its not a problem. Its long way until I can start cabling the machine anyways…
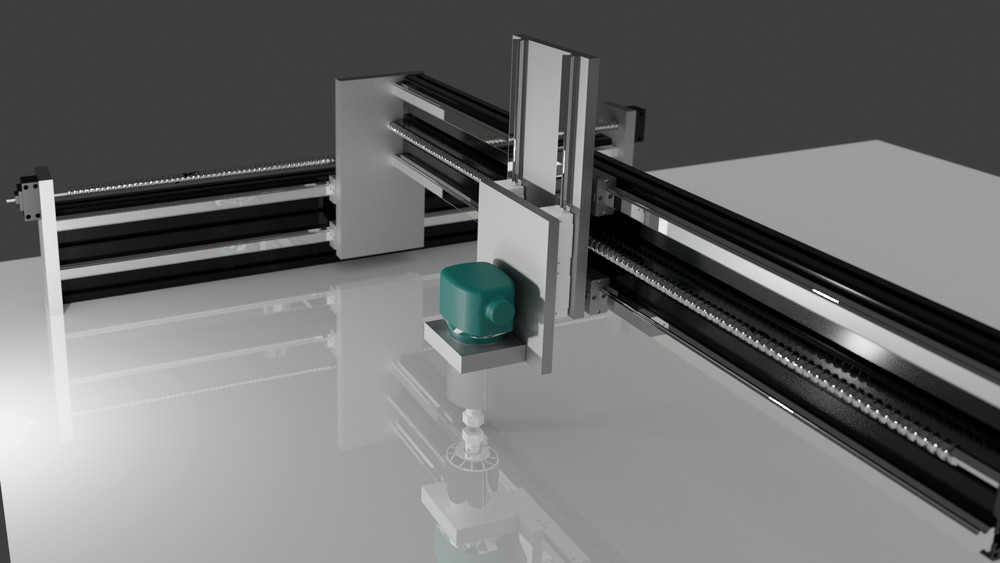
Here is one other image planned and made using blender.
So this is it for now. A new post will be popping up when I get next goods shipped to my workshop…

