
Bottom frame temporary assembly and installation
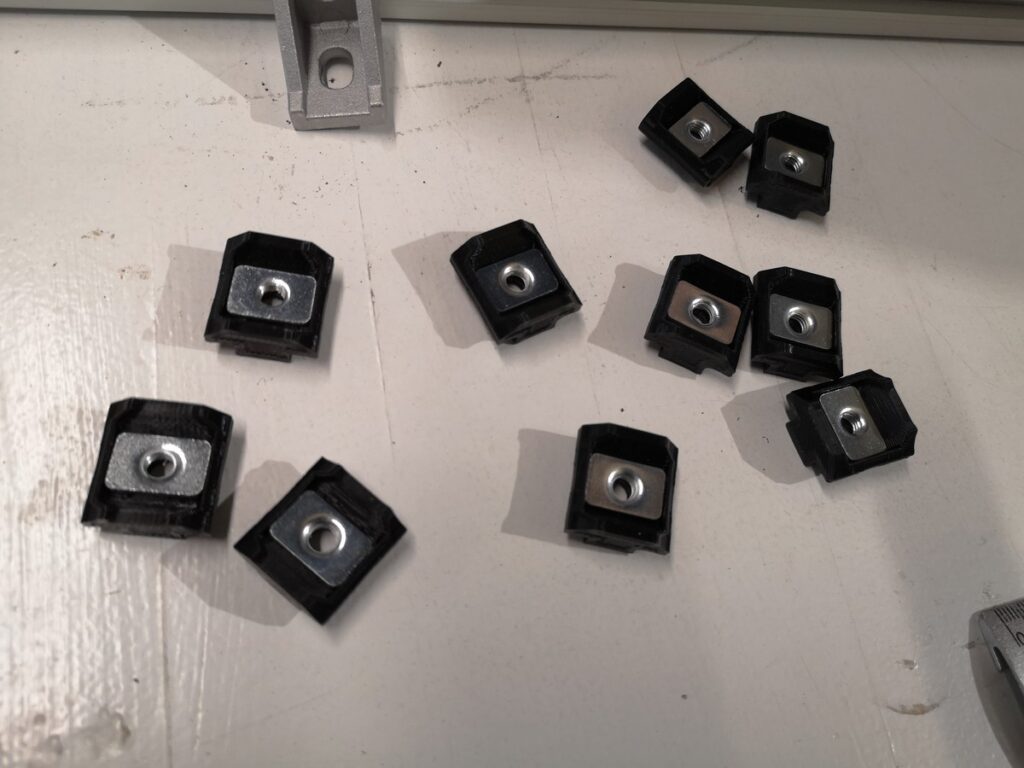
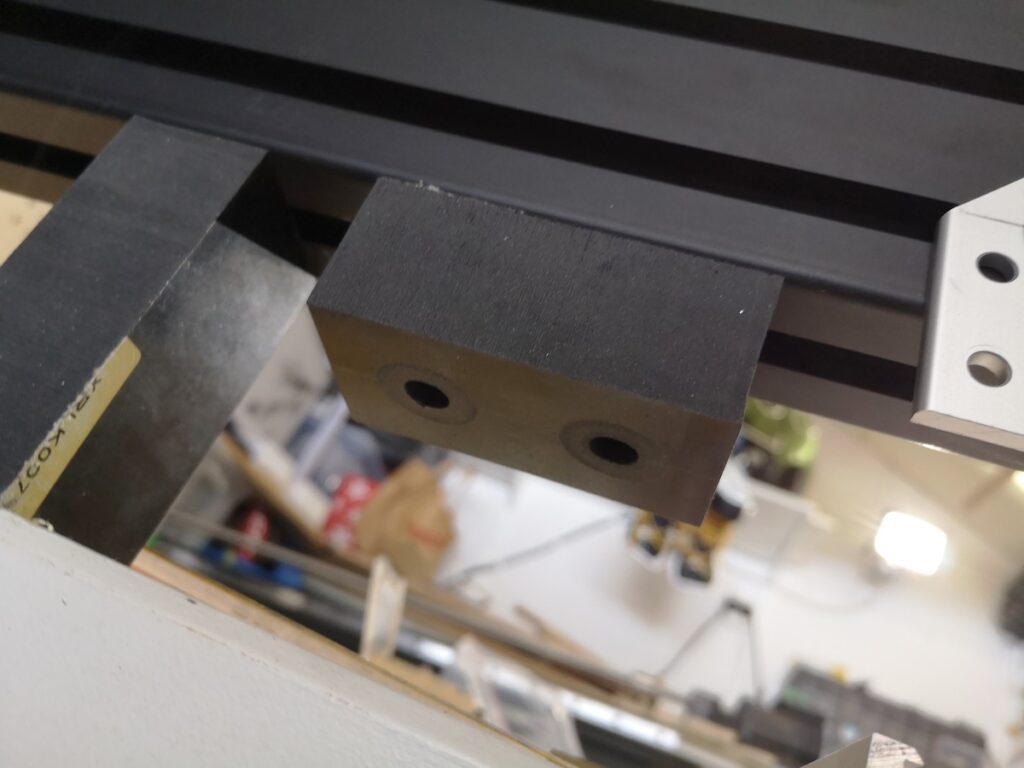
In order to be able to finish up the aluminum parts which are slightly different in thickness, the bottom frame needs to be assembled temporary as rigid as possible. The rubber legs are fixed as it will be in final version by drilled holes to fit 16mm M5 screws. T-nuts used to tighten them to the frame are the printed t-nuts that uses the steel v-slot tee-nuts.

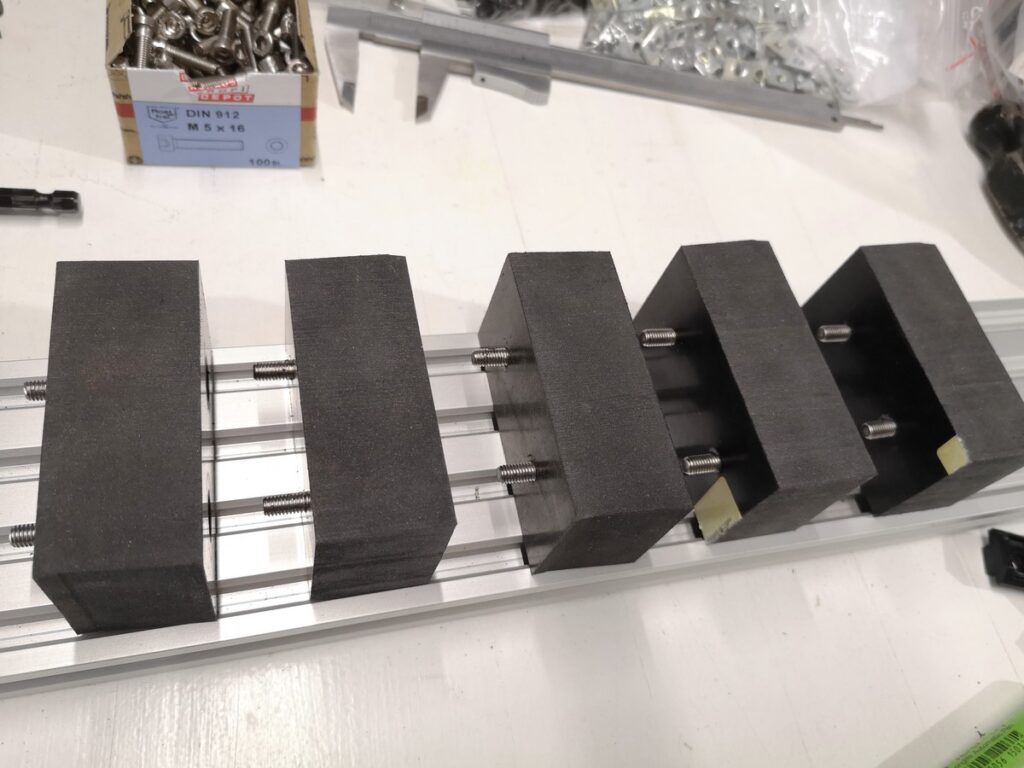
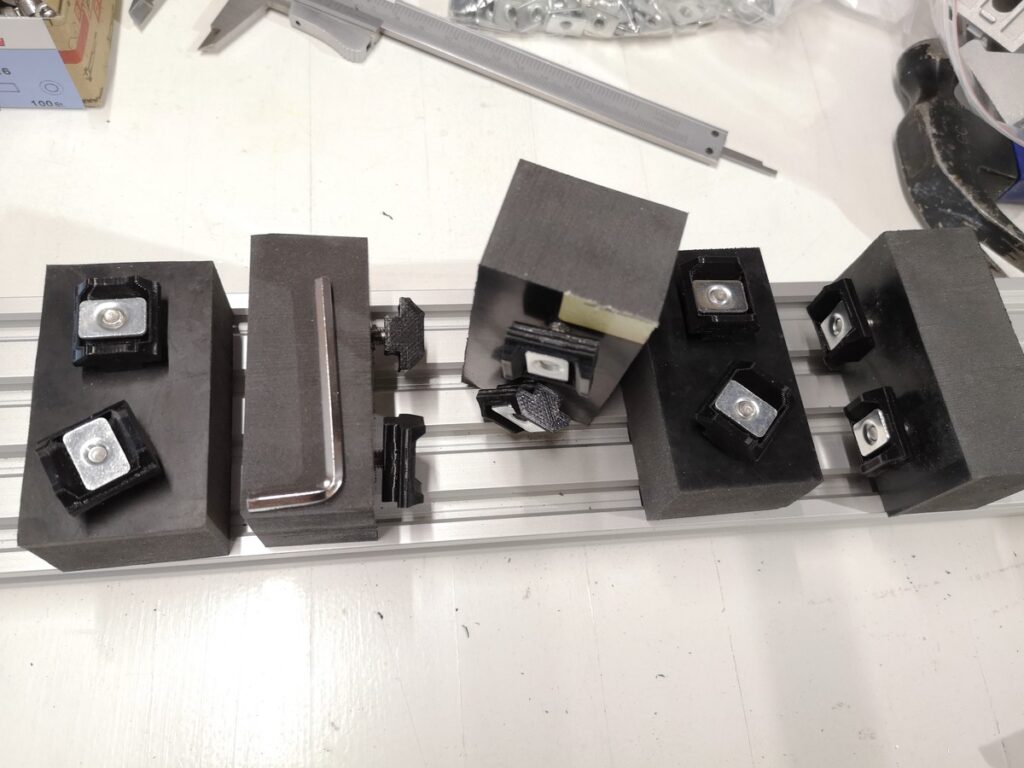
The frame was not needed to be disassembled, the legs were slide into place.

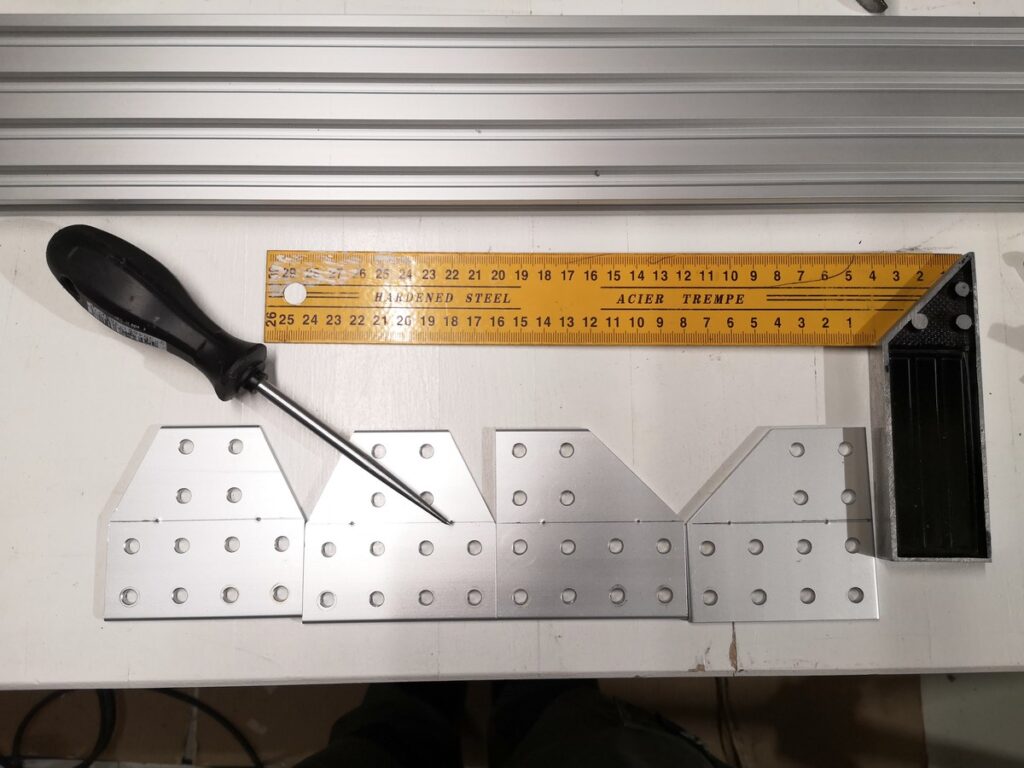
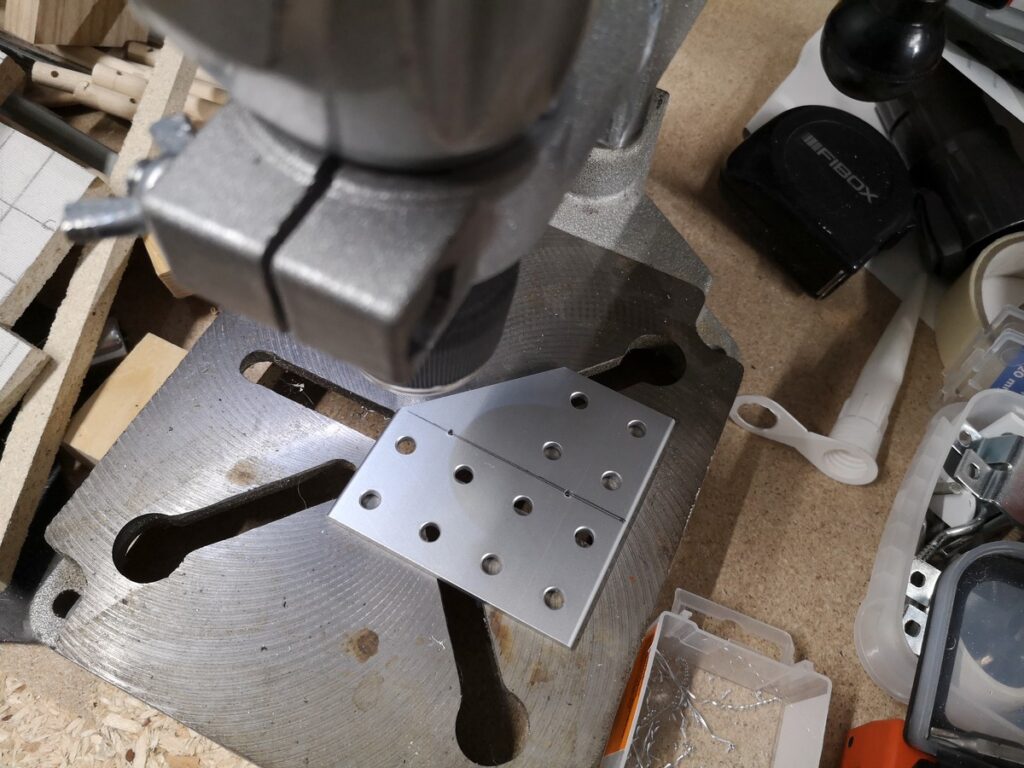
The aluminum bottom profiles was fixed to the main frame using open builds join plates bought from Nettiverstas.
The join plates needed 2 holes for M8 screws in order to be able to install them to the Ratrig 40160 aluminum profile.
On the opposite side of the frame, 4040 cast corner brackets from Ratrig was used to fix the profiles to the main frame.
Next up will be the MDF spoil board plate which will be probably done by cutting 100x1000mm sized MDF pieces separated from each other by some rails that allows work pieces to be fixed to the machine bed.
All parts used in the project can be found from the Partners page.
